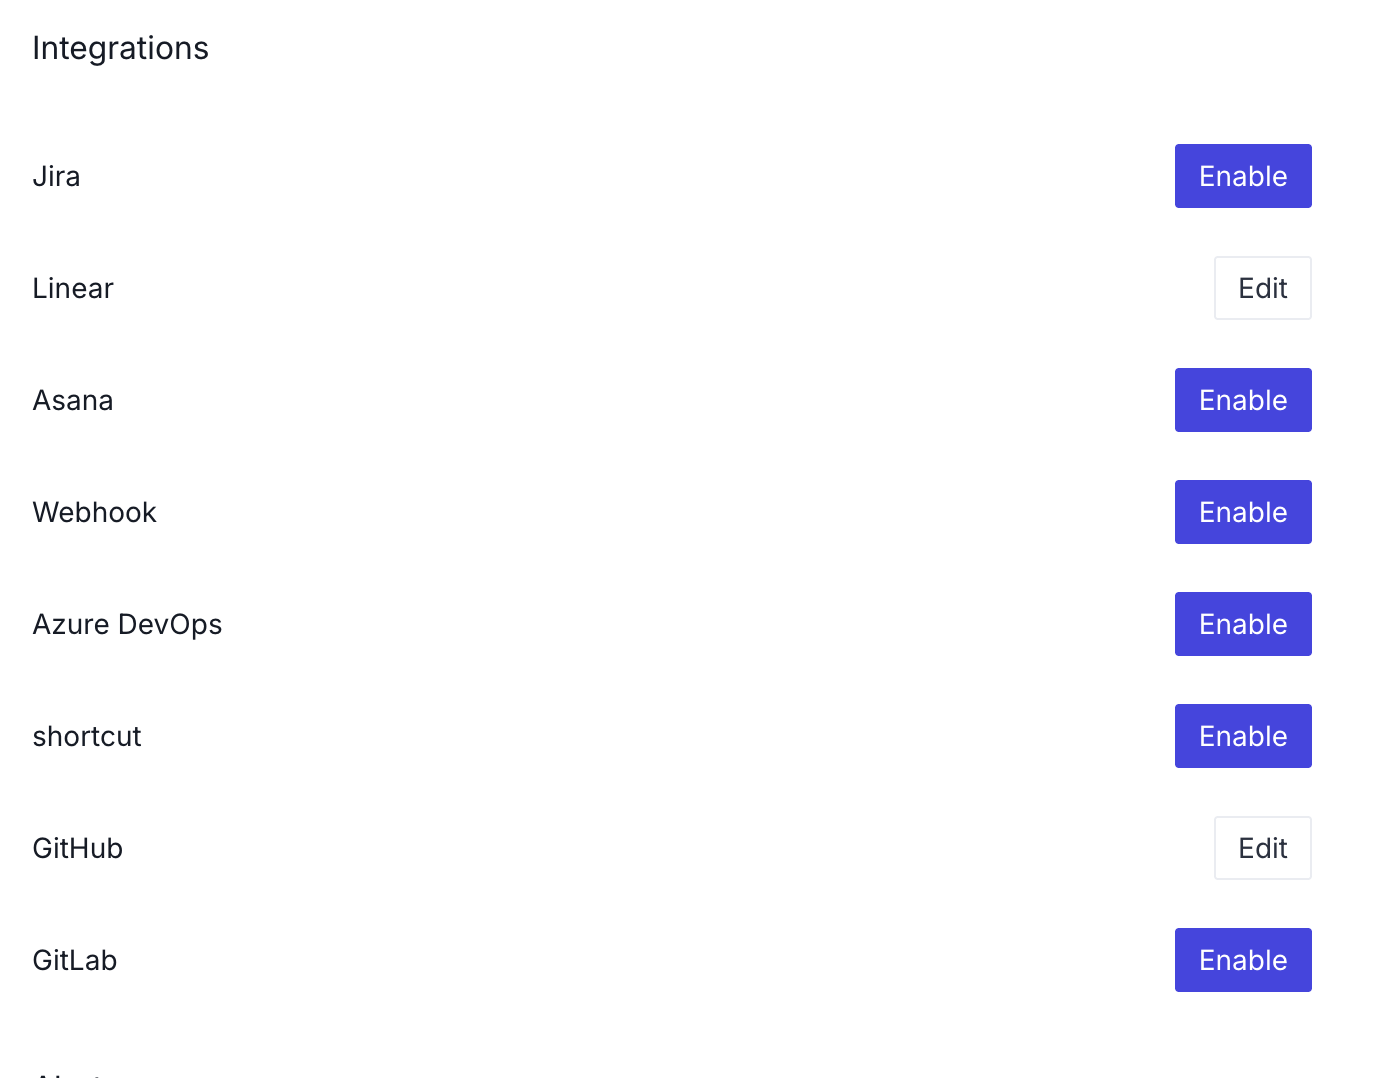
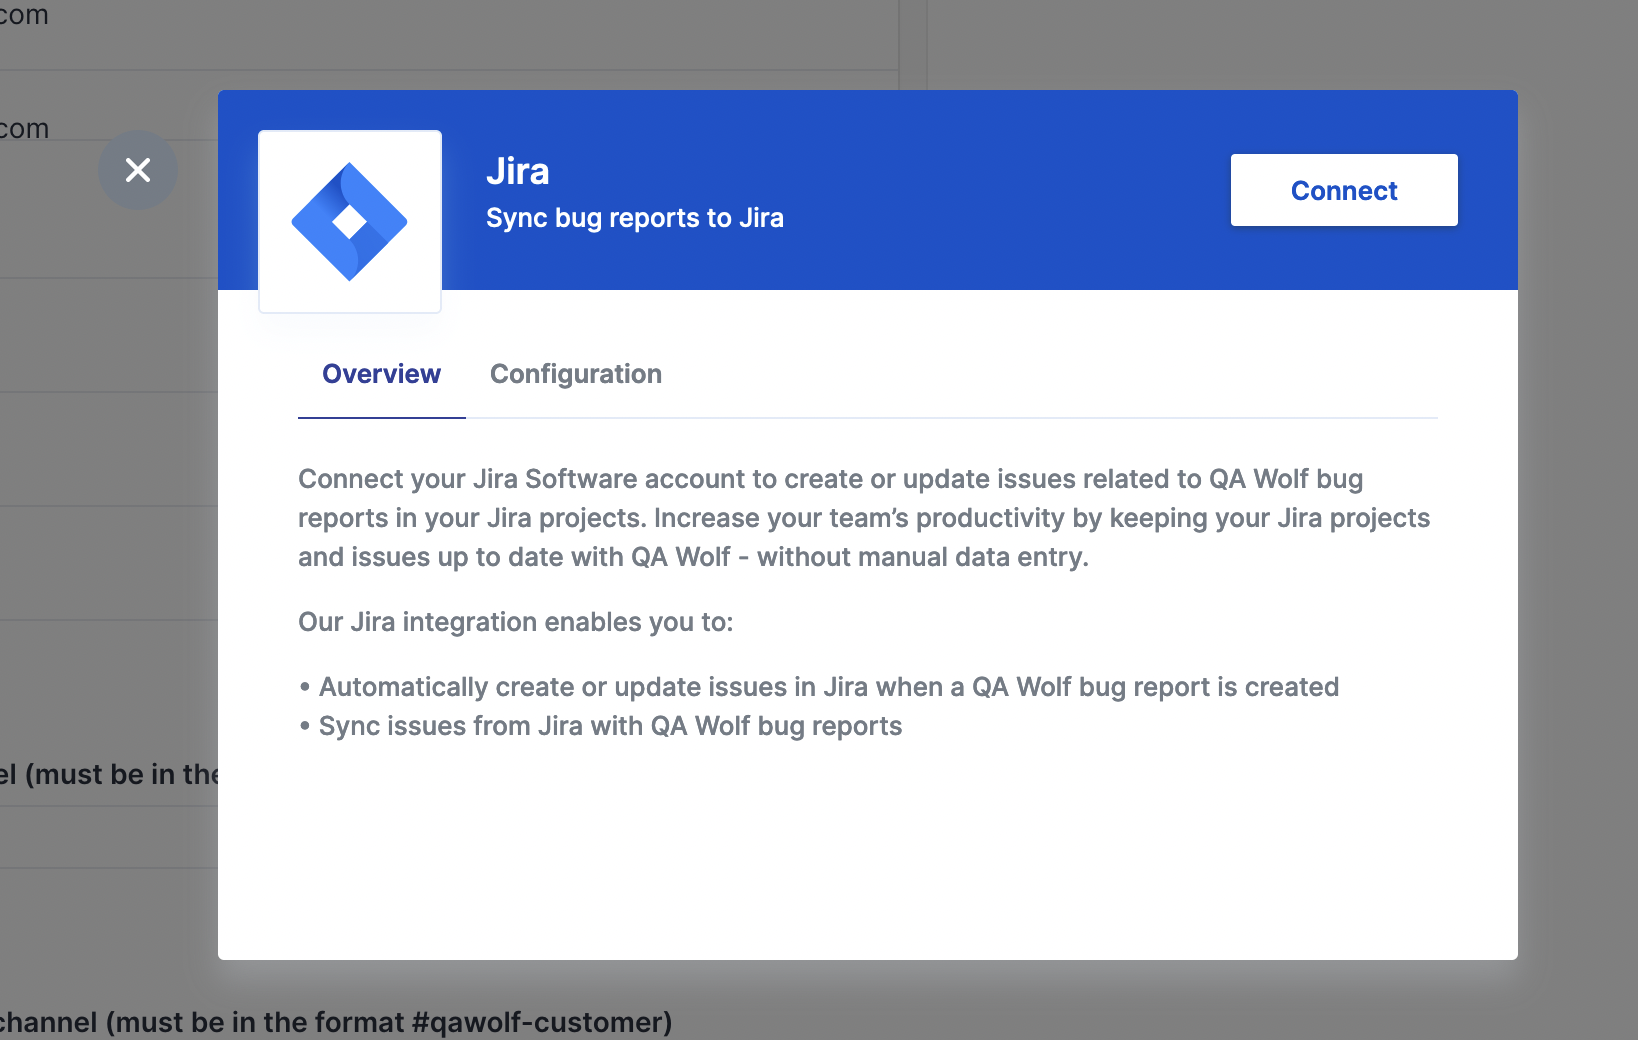
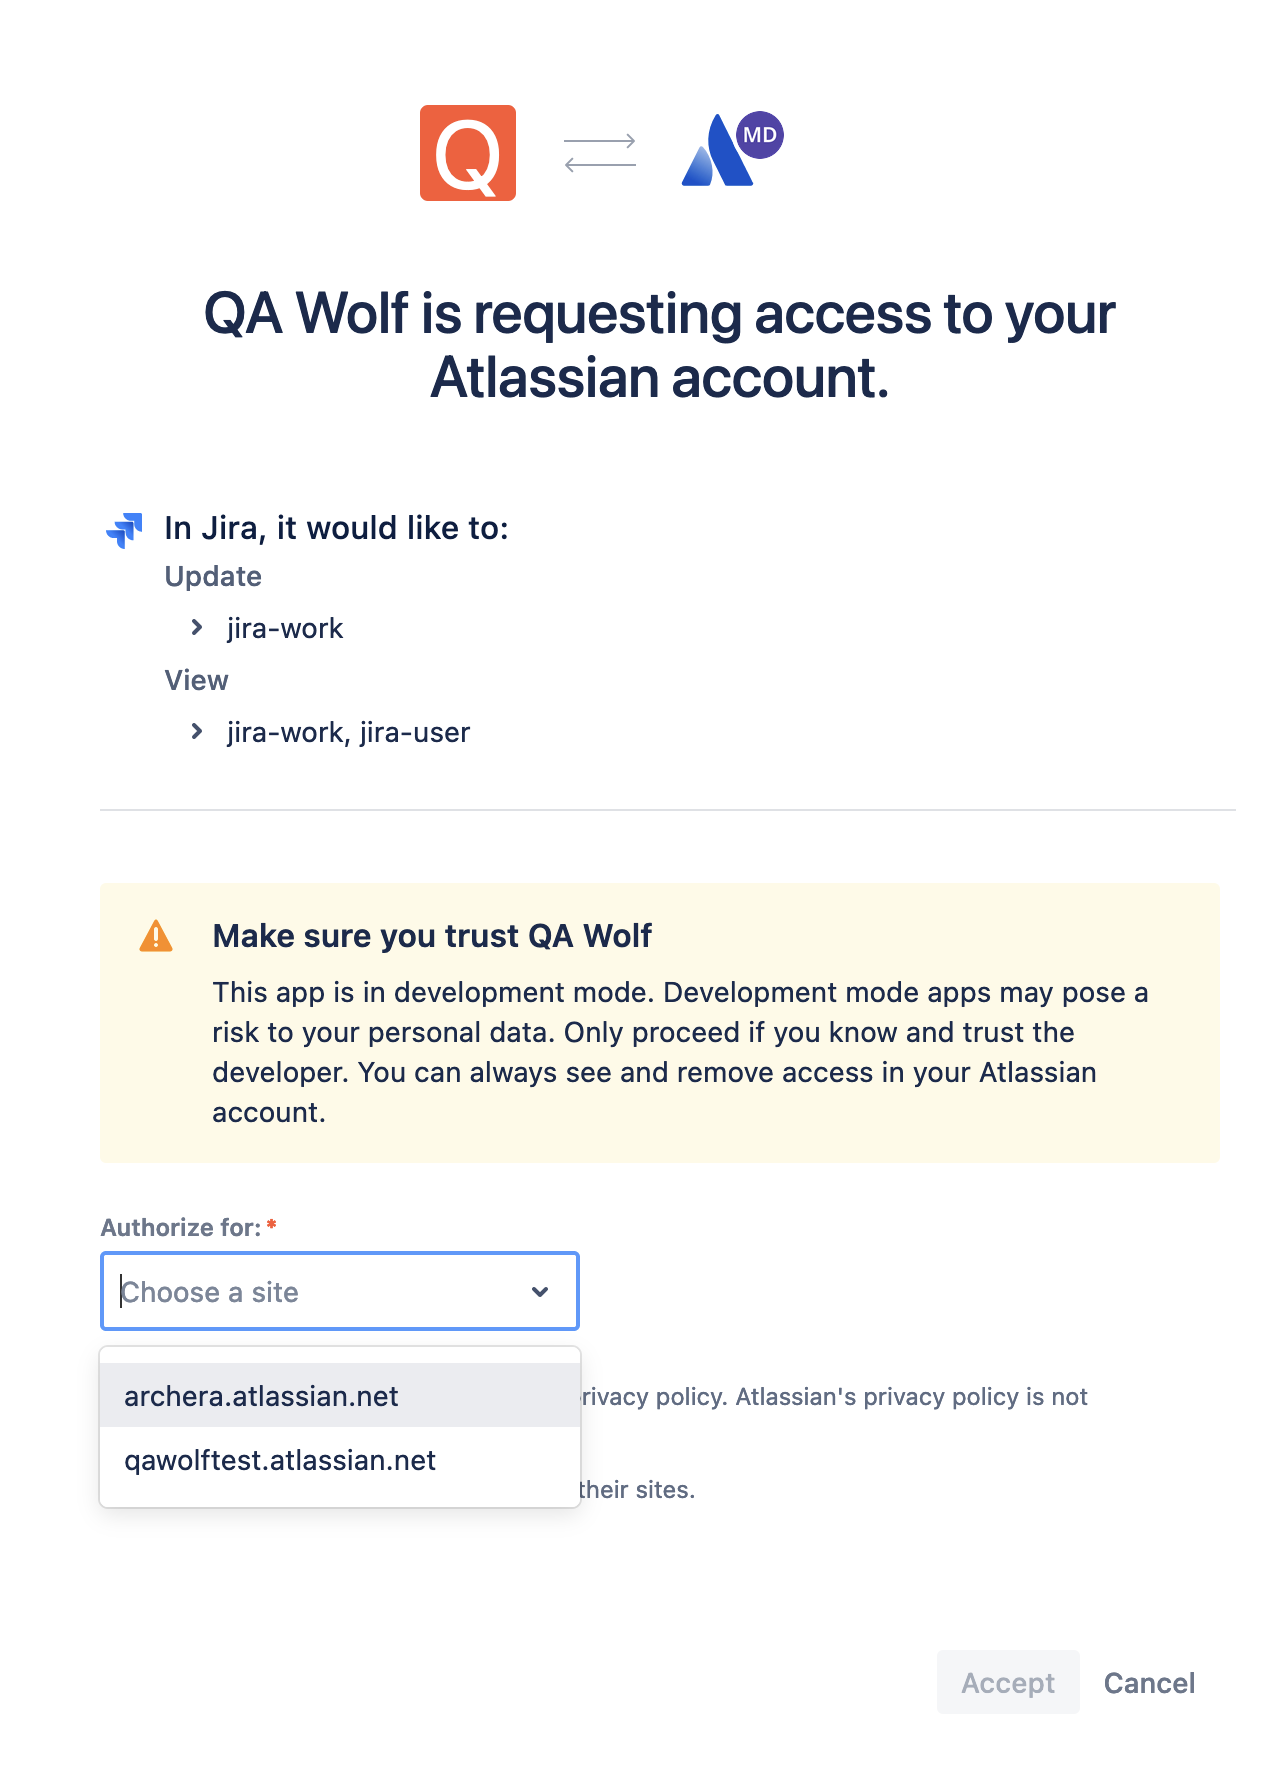
Configuring Jira
Extra customization fieldsa. Custom fields expects an JSON that will be merged with the default fields when creating an issue. It is useful for Jira projects with required custom fields.b. Custom description field name is used to define a custom field name for the description field. Some Jira projects have alternative names for the description.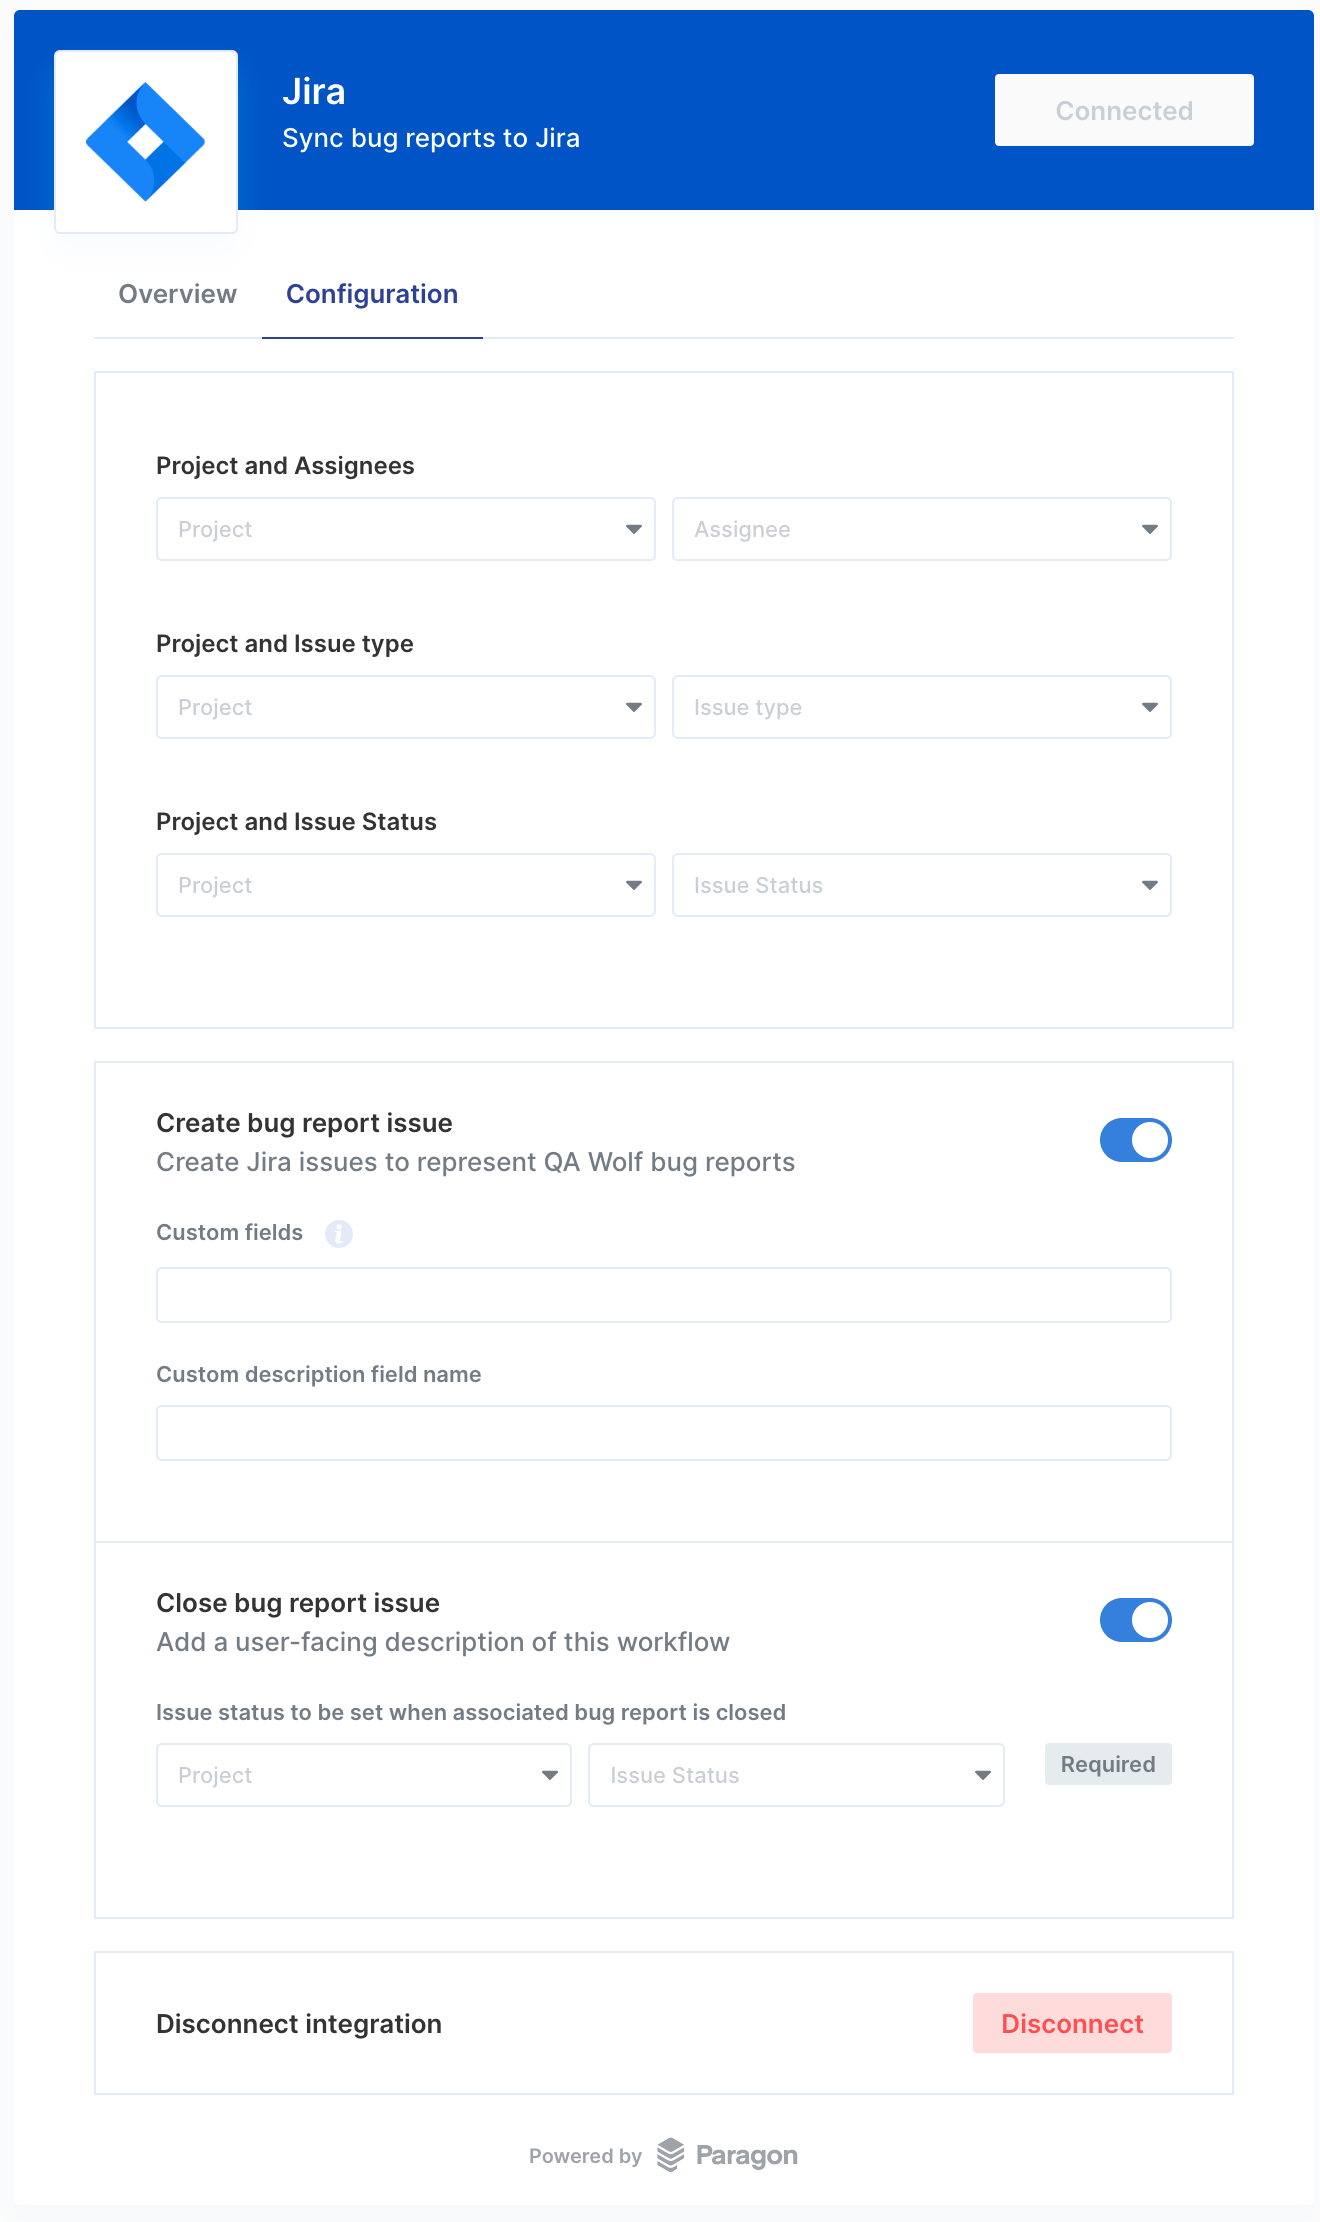
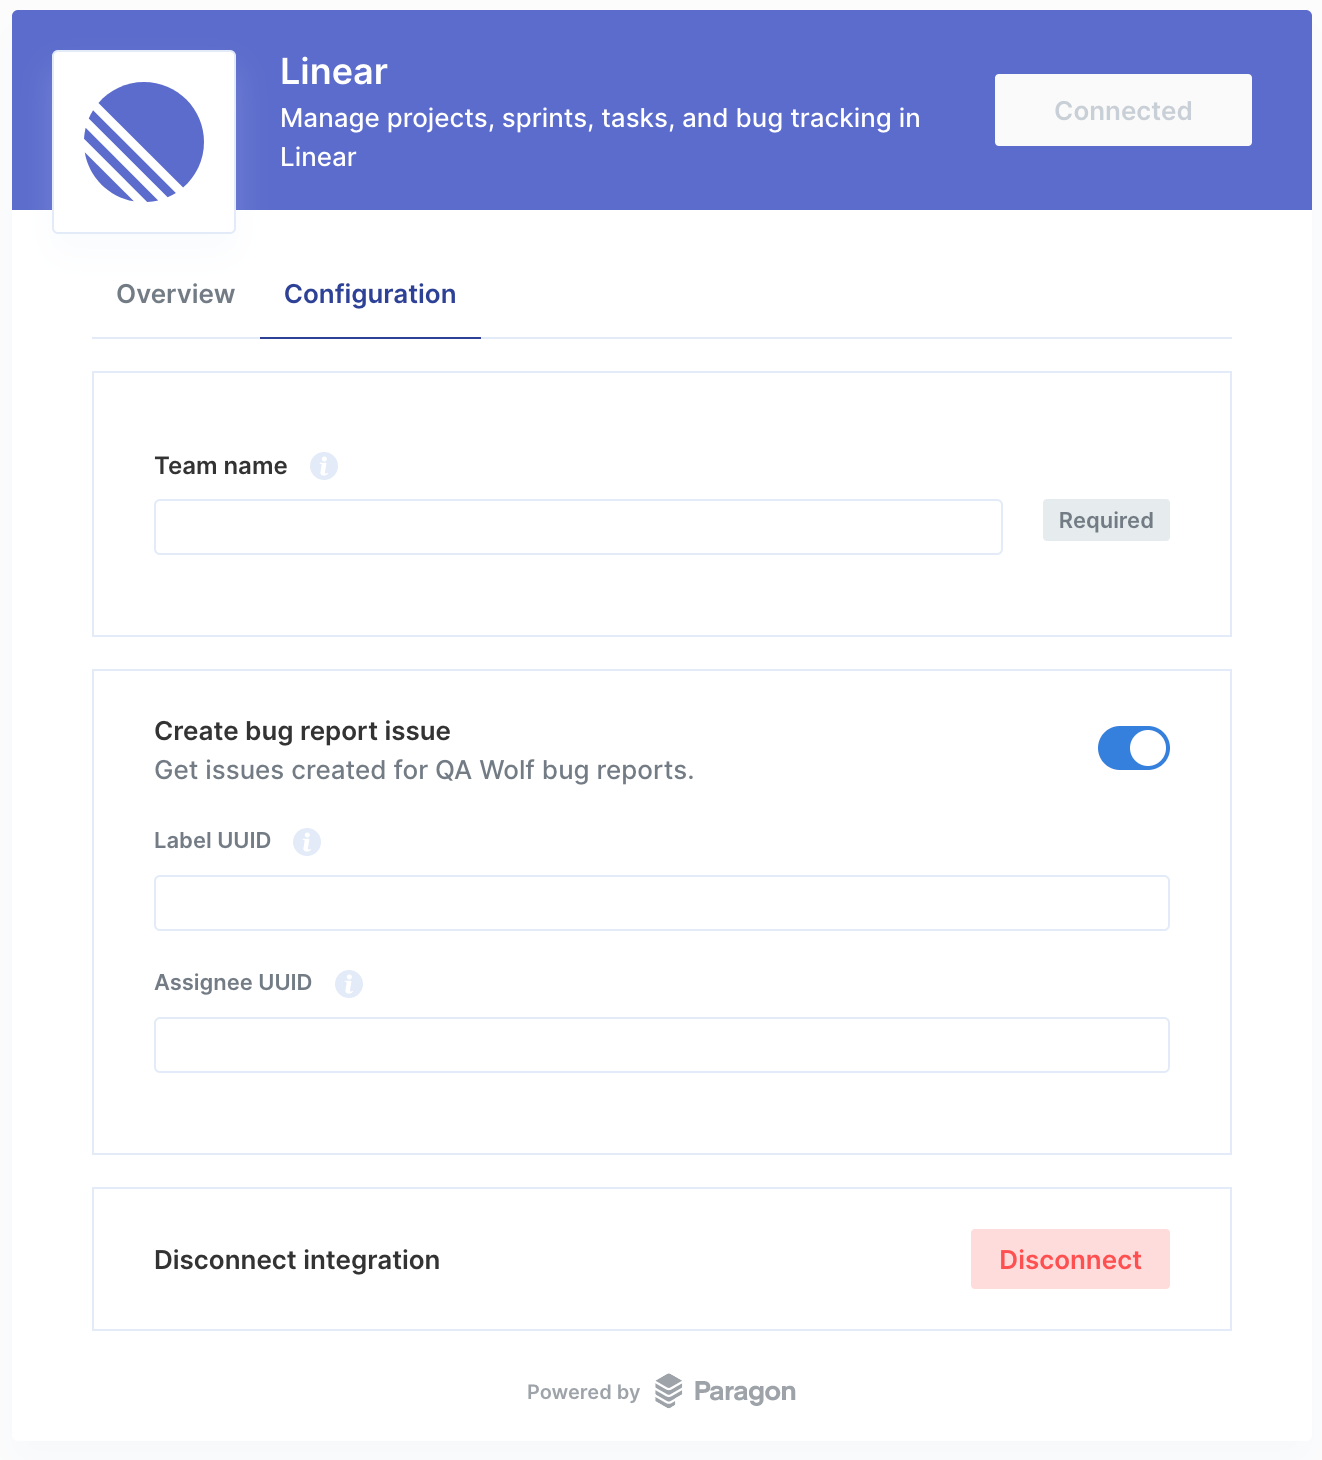
Configuring Linear
Update 8/8/23: There was a bug in our Paragon workflow that prevented us from receiving Linear Issue events from new Linear teams. The updated Paragon workflow will register for Linear Issue events for all teams, existing and new. Customers that are already connected (as of 8/8/23) to Linear will not receive events for new Linear teams. To get events for all new and existing Linear teams, disconnect and reconnect to the customer’s Linear org. Please make sure that we have access to their linear org (check 1Pass) before disconnecting their org. Otherwise, you will need to coordinate with the customer to reconnect their Linear.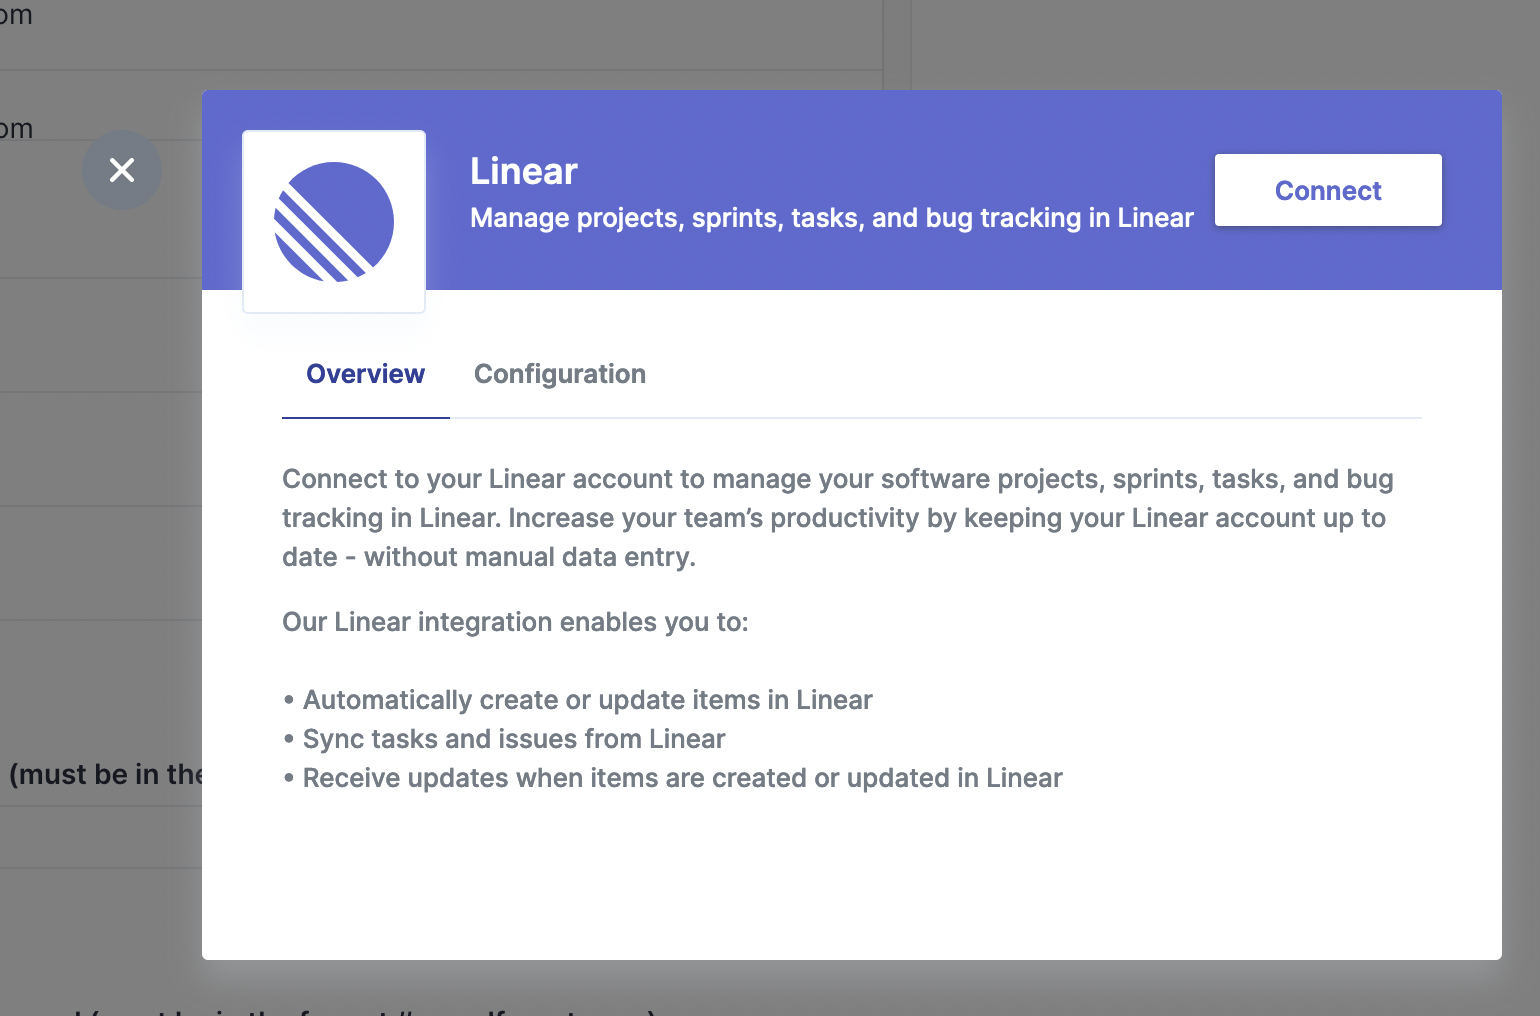
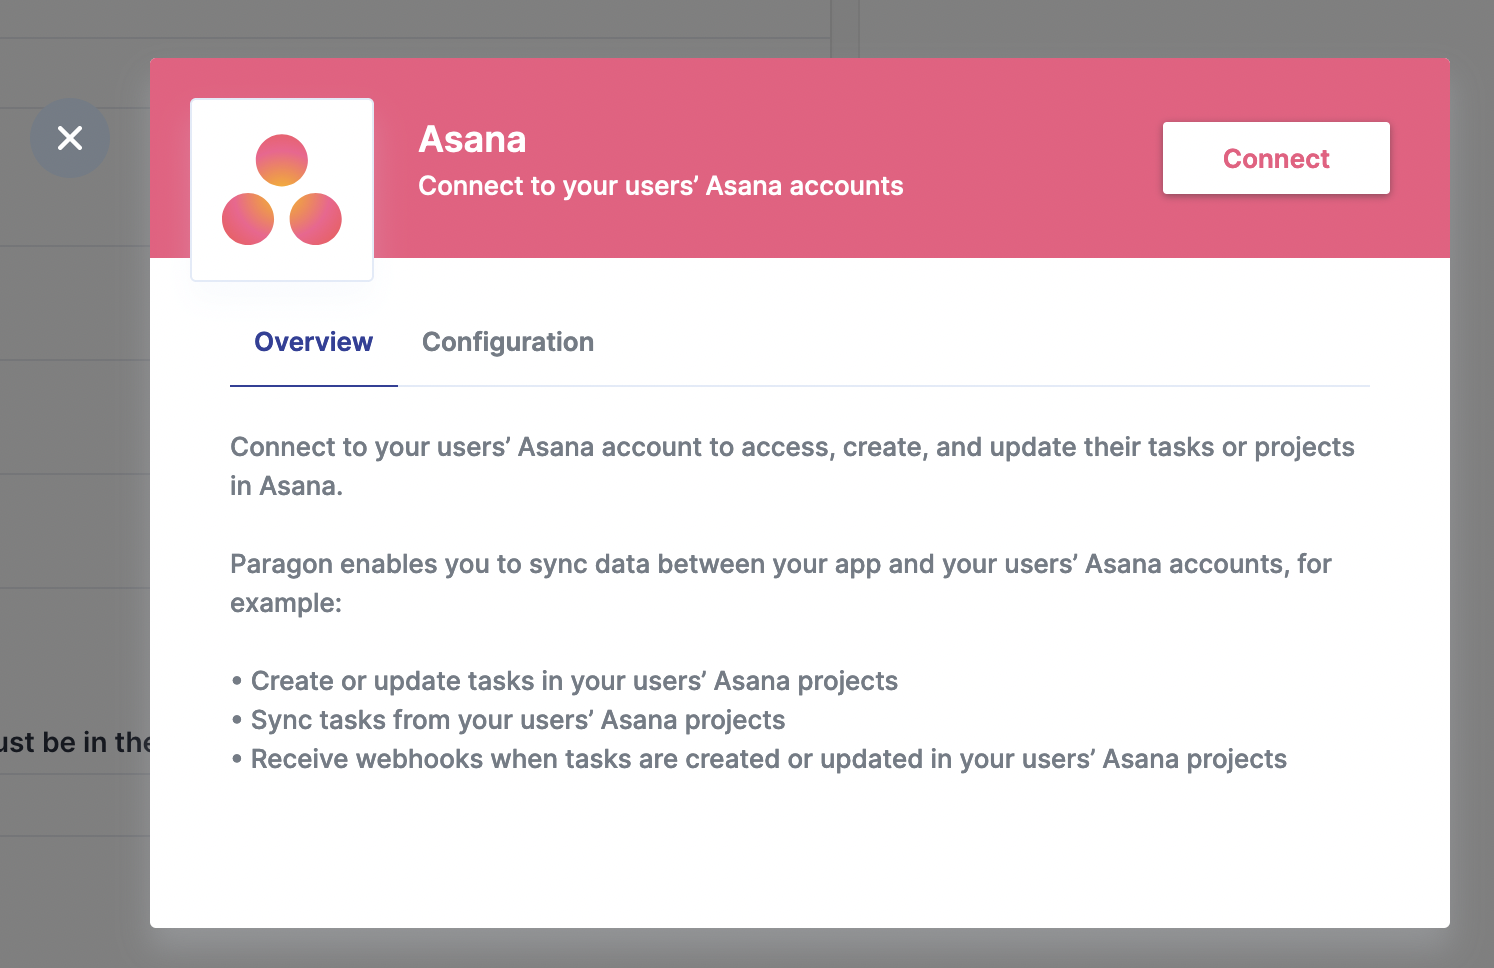
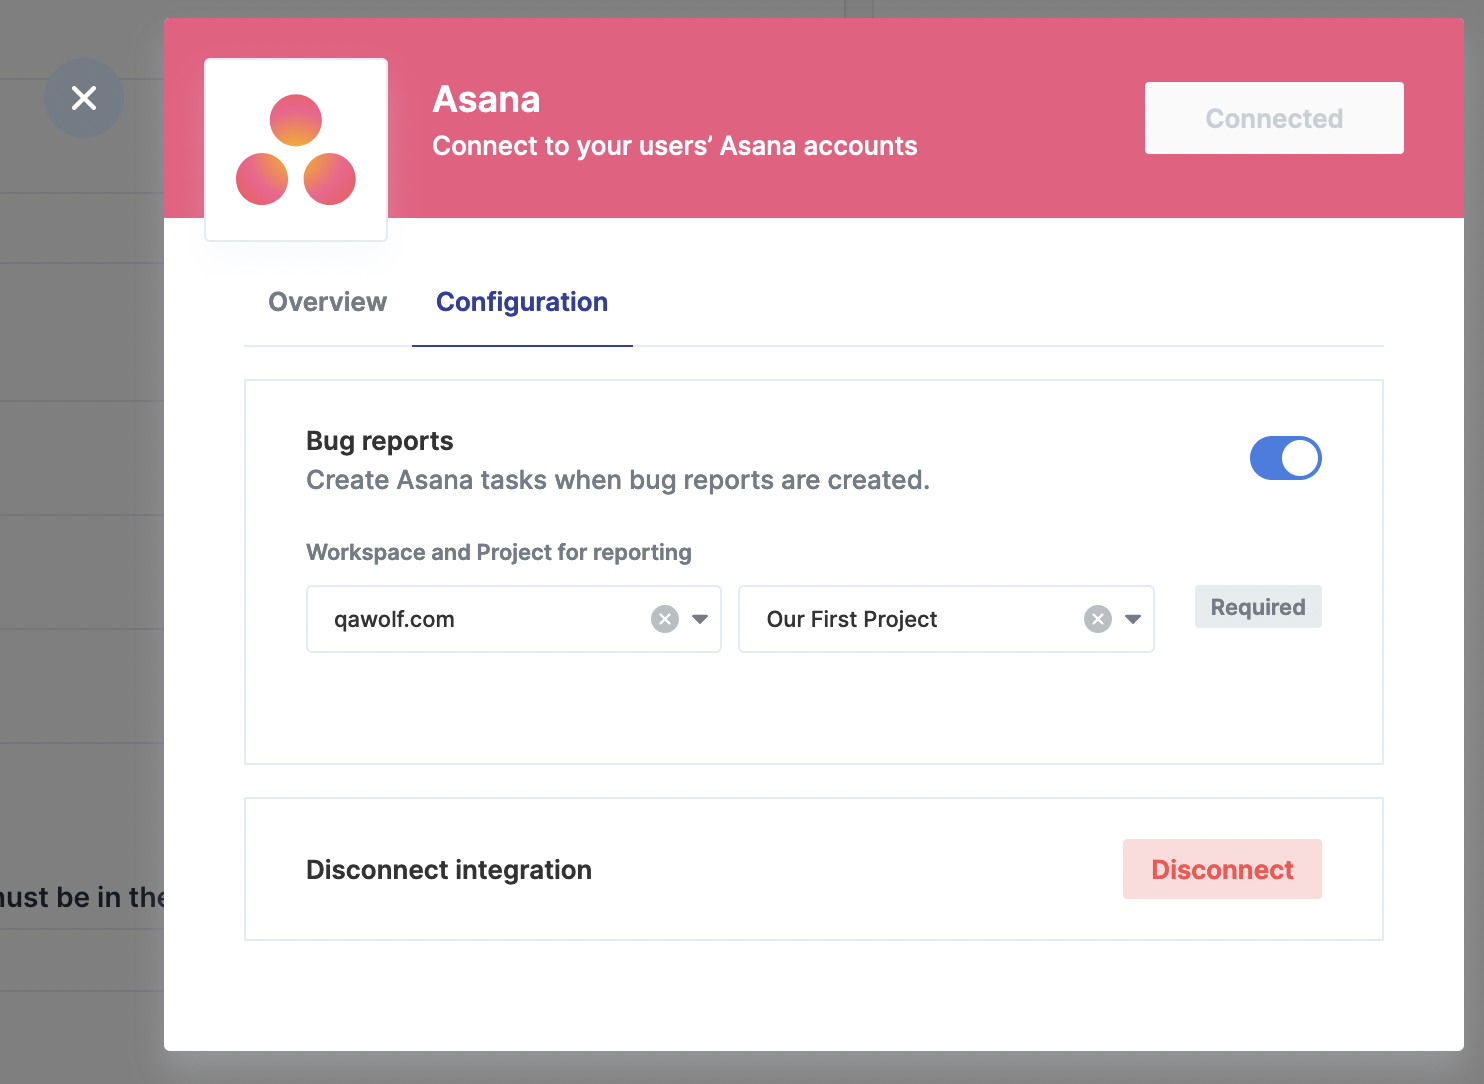
Configuring Asana
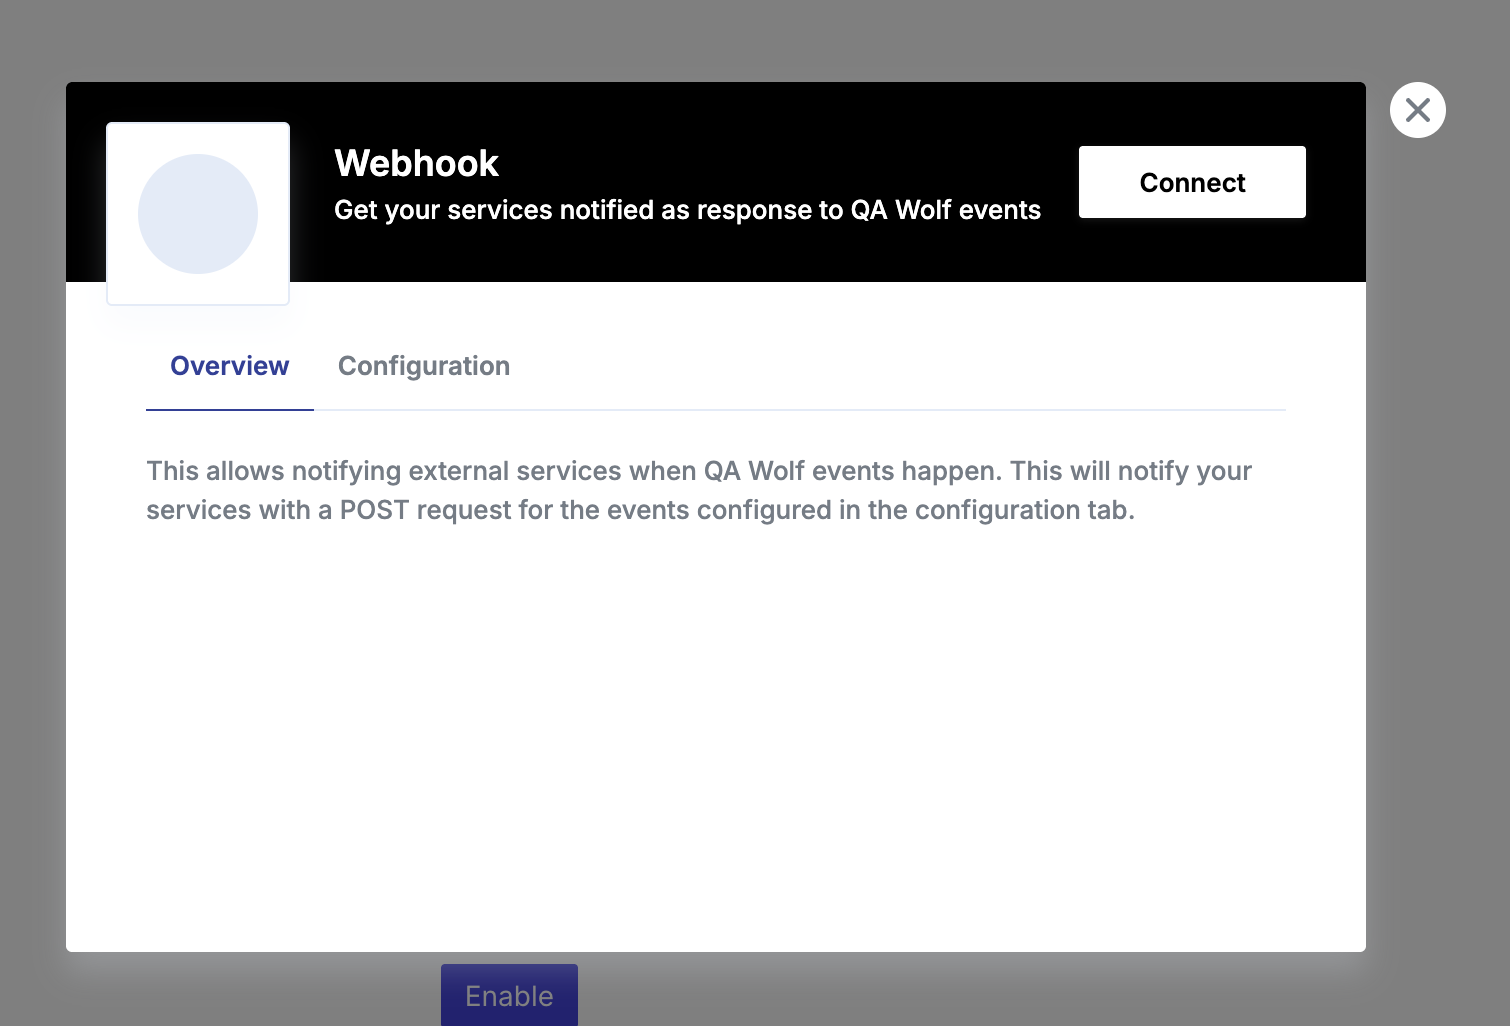
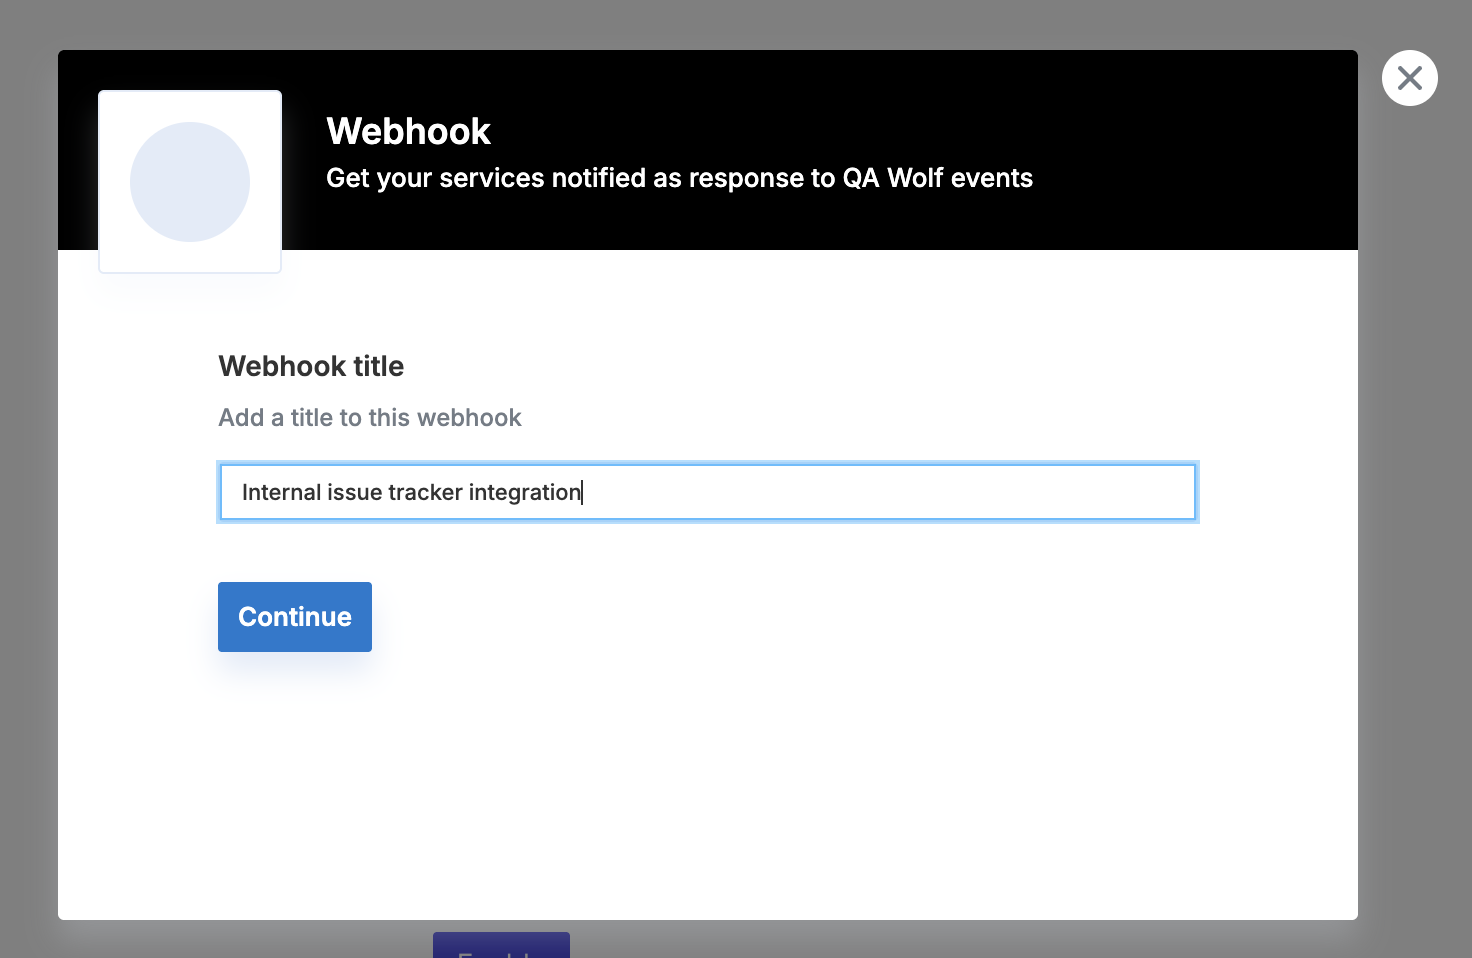
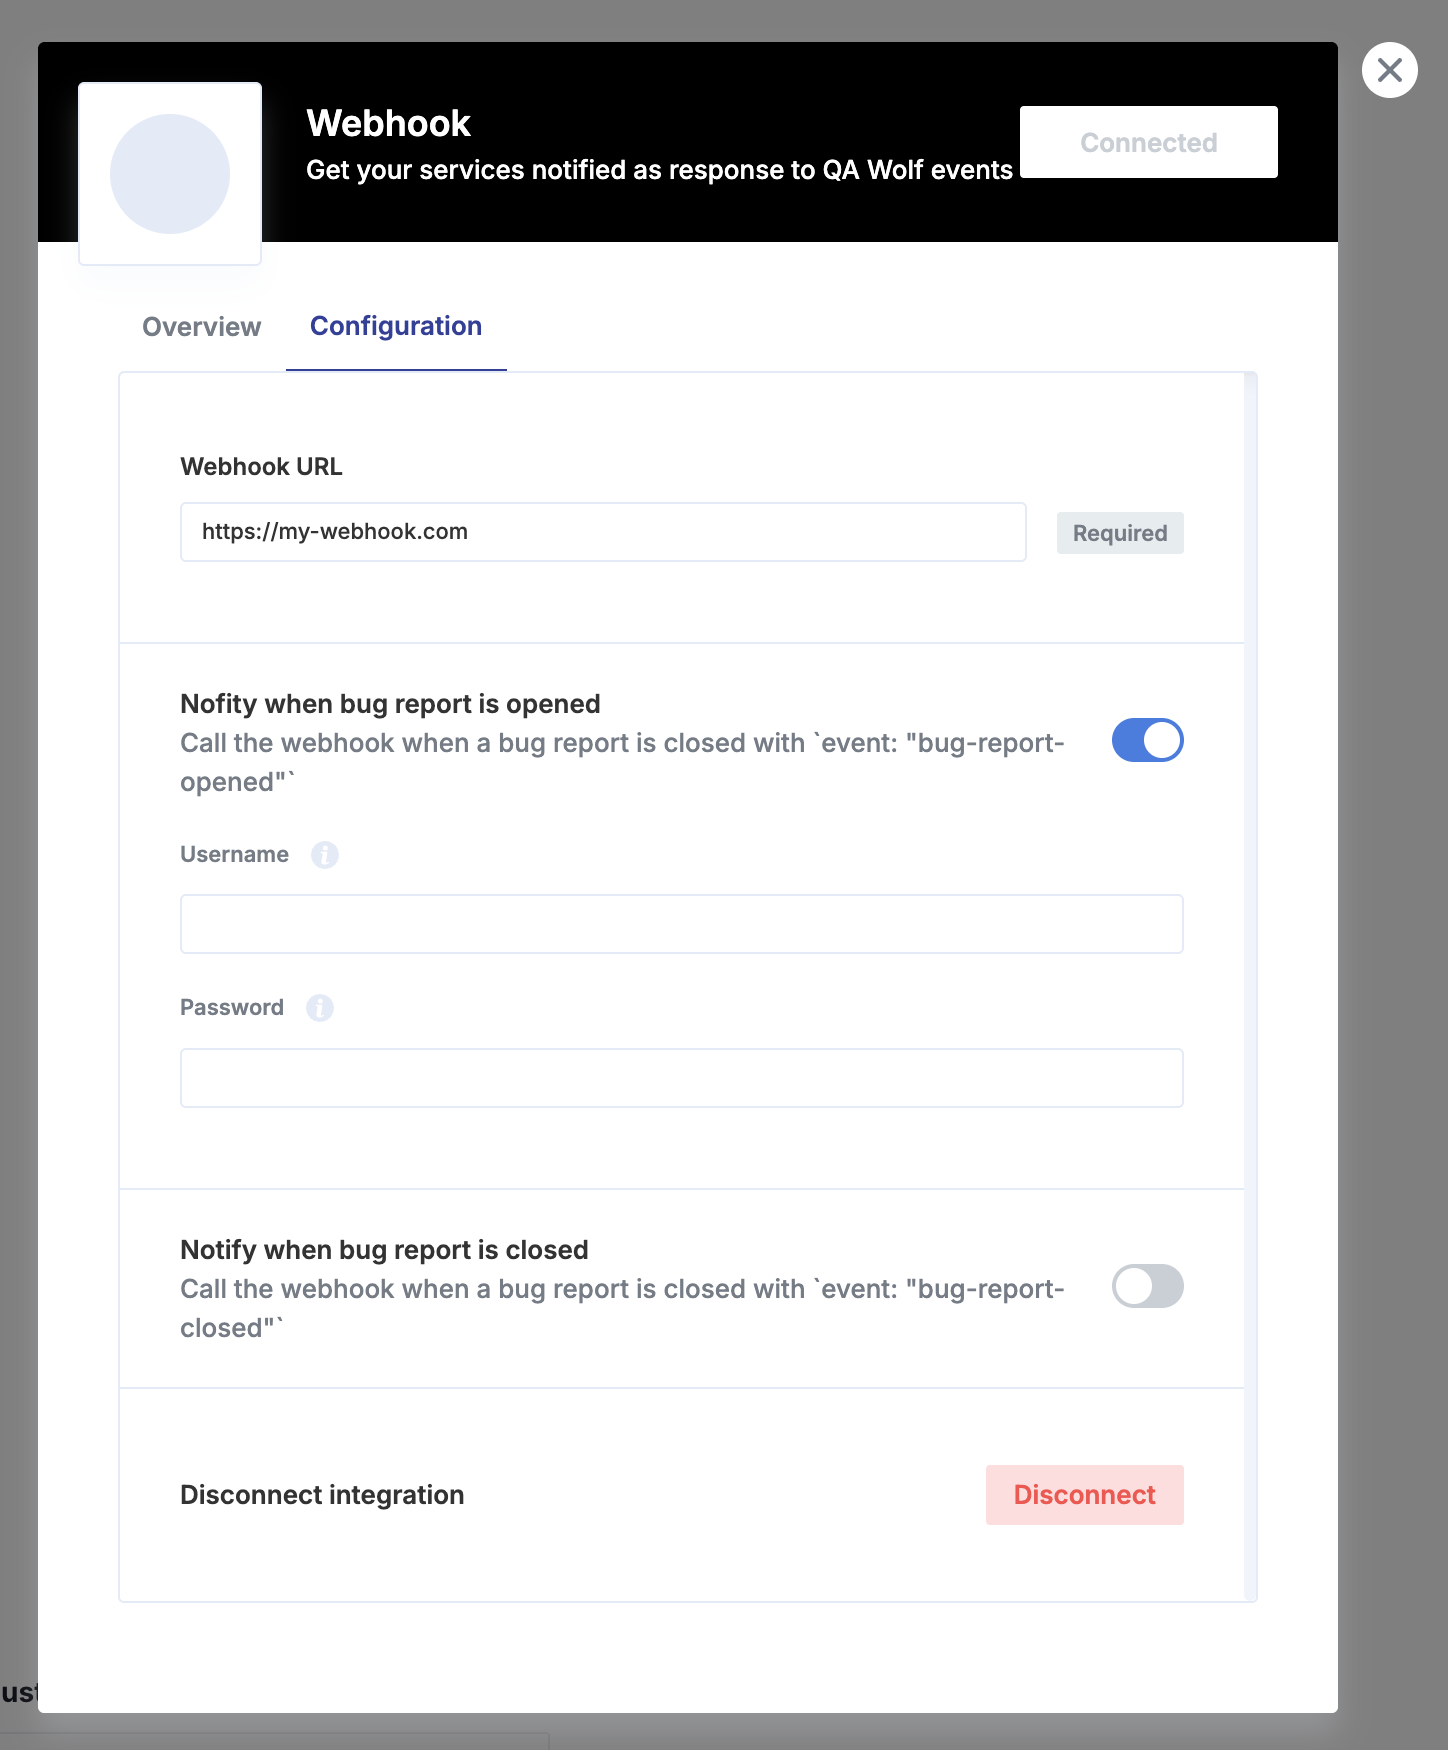
Configuring Webhooks
Basic Setup
Good when you only want to be notified when bugs are opened
Expected JSON Body Fields
The primary data is in the request body:id(string): Unique bug report ID.title(string): Bug report title.description(string): Detailed description (may contain newlines/links).url(string): Link to view the bug report in QA Wolf.event(string):bug-report-opened.
Example Payload
This example shows the full request structure your endpoint will receive:JSON
Authentication
If username and password are set, those will be used for basic HTTP authorization when performing thePOST request against your webhook.
Complete Setup
Relevant when you want to be notified that bugs were closed.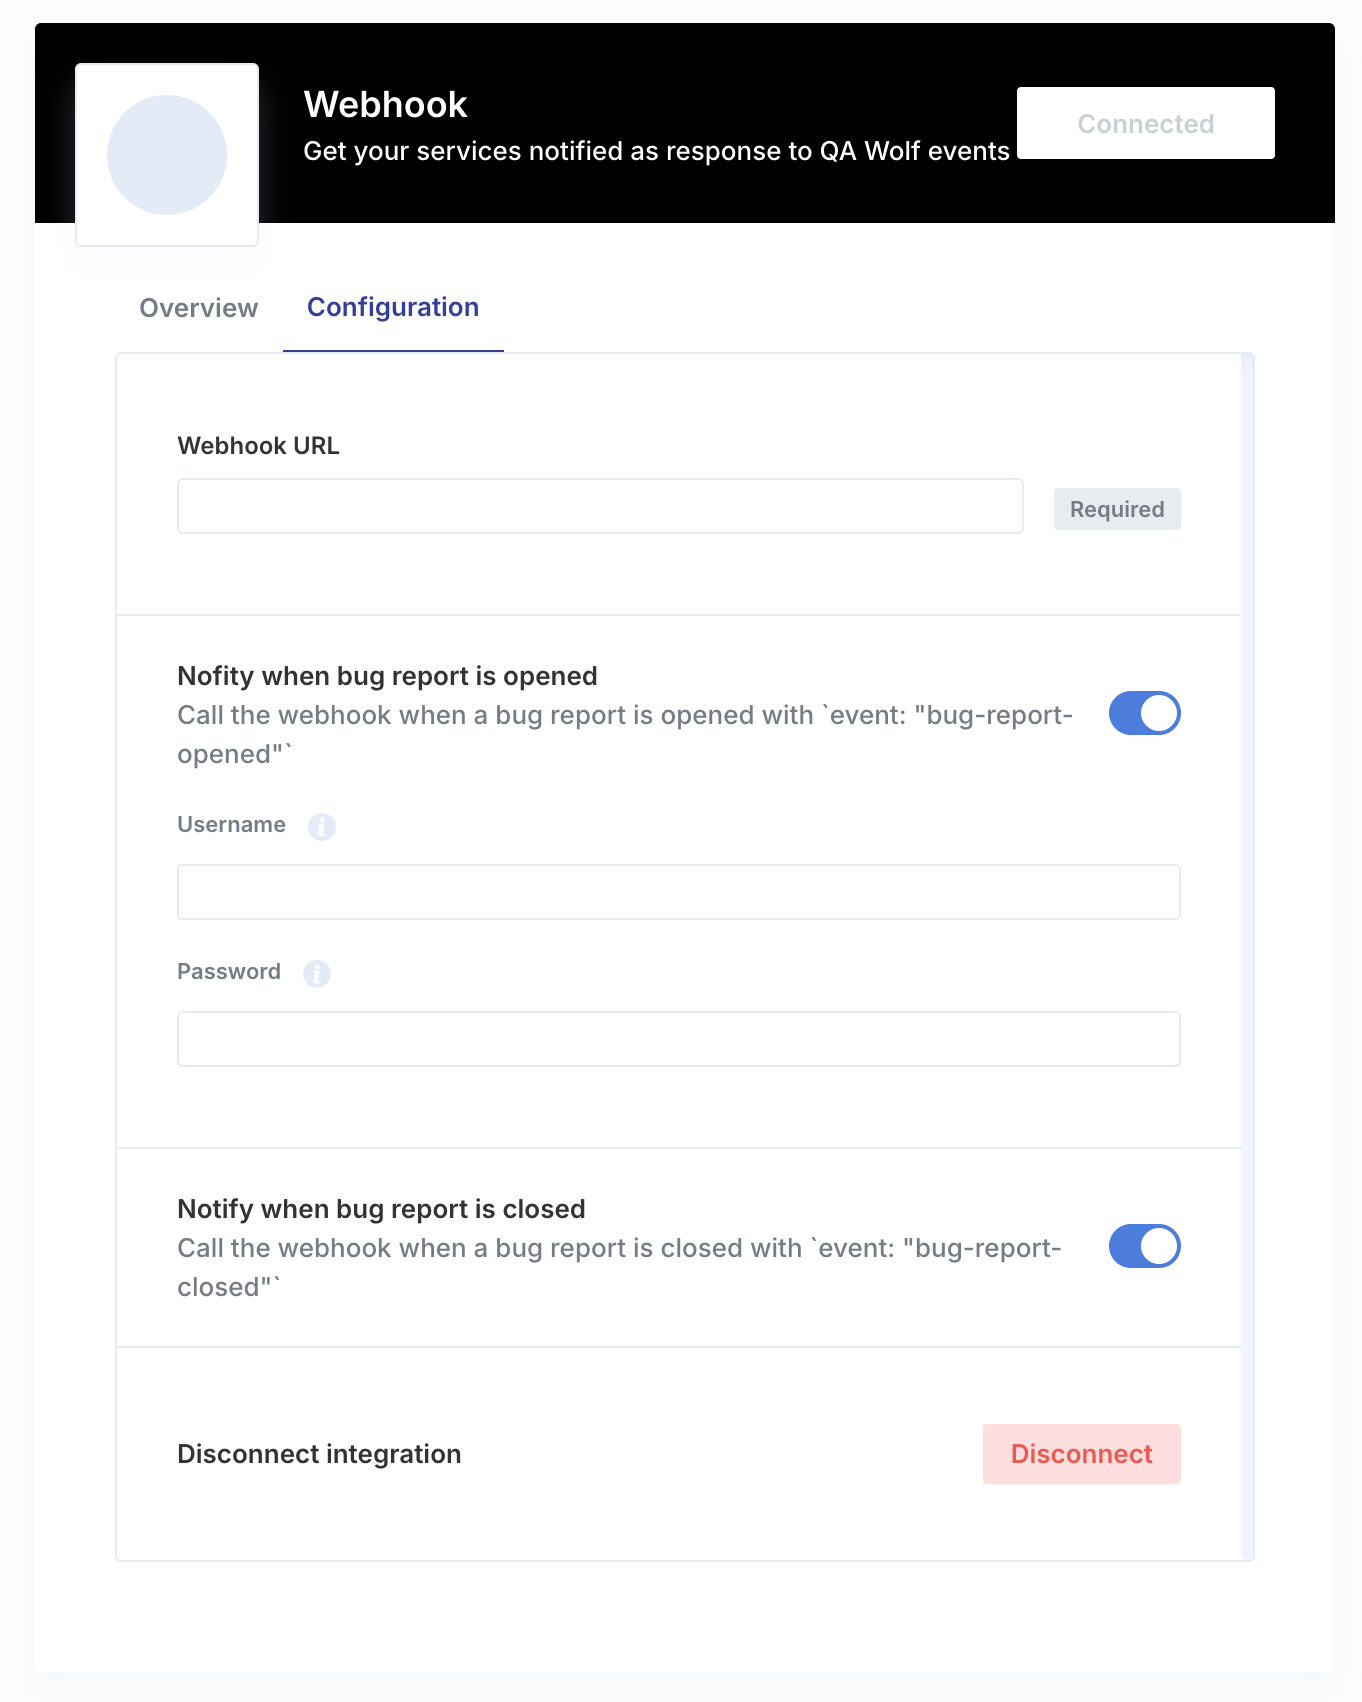
Make your webhook respond to the
POST request a payload containing these fields:externalId(string): ID of the issue for the QA Wolf bug report in your issue tracker. It will be used to notify the issues that must be updated in the future.humanId(string): Human friendly issue ID that will be used on QA Wolf UI, Slack messages and other integrations.url(string): Link to the issue.
Expected JSON Body Fields
The primary data is in the request body:externalId(string): The ID of the issue associated with the closed bug report.event(string):bug-report-closed.
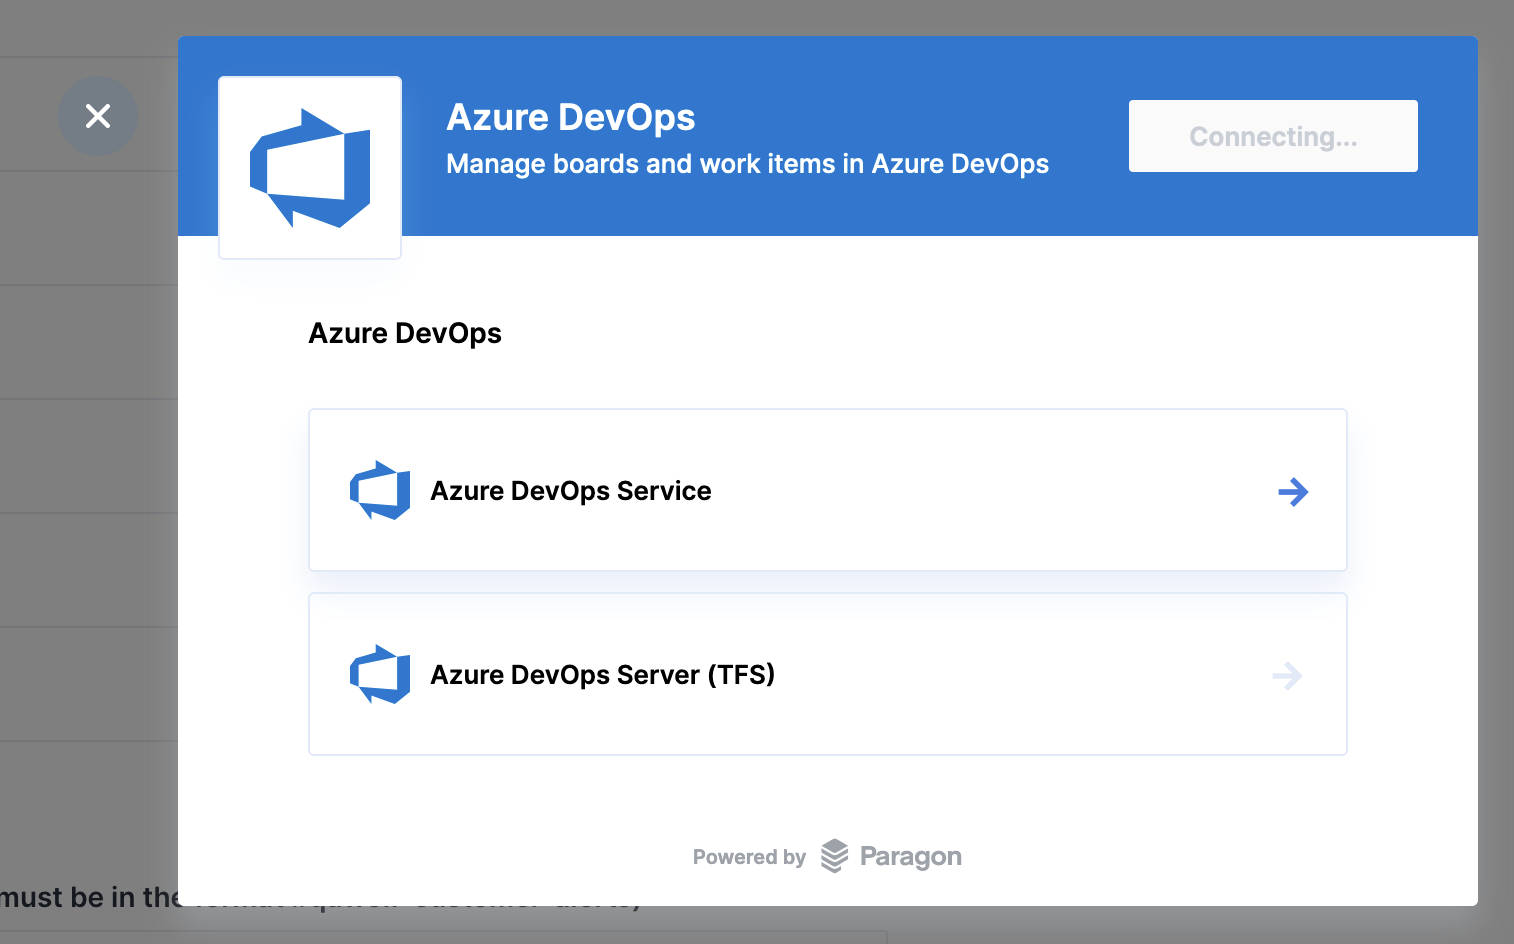
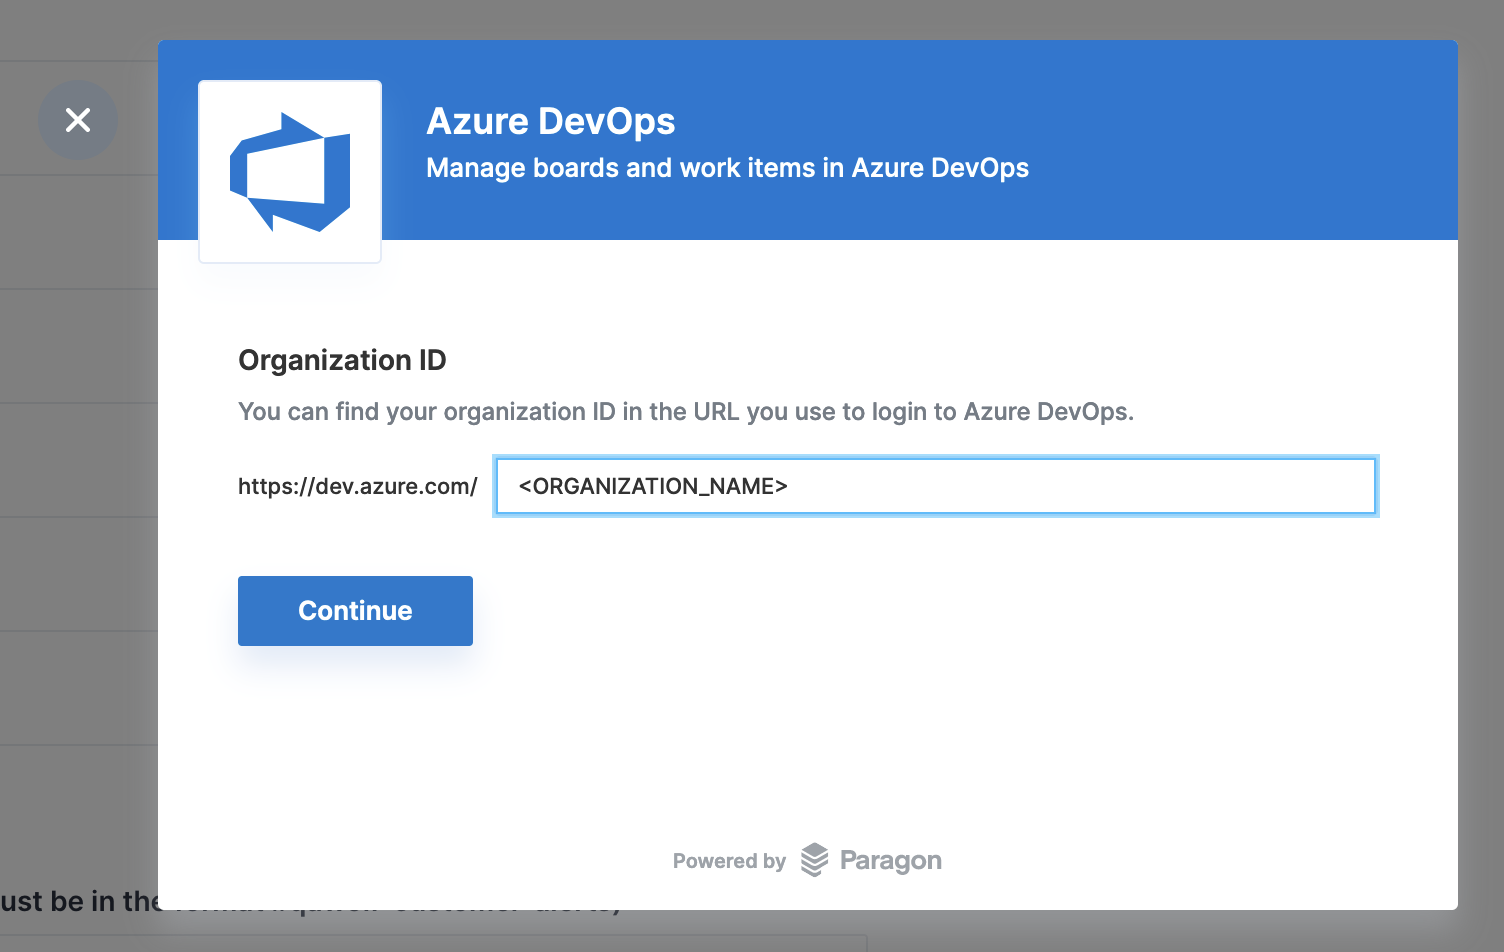
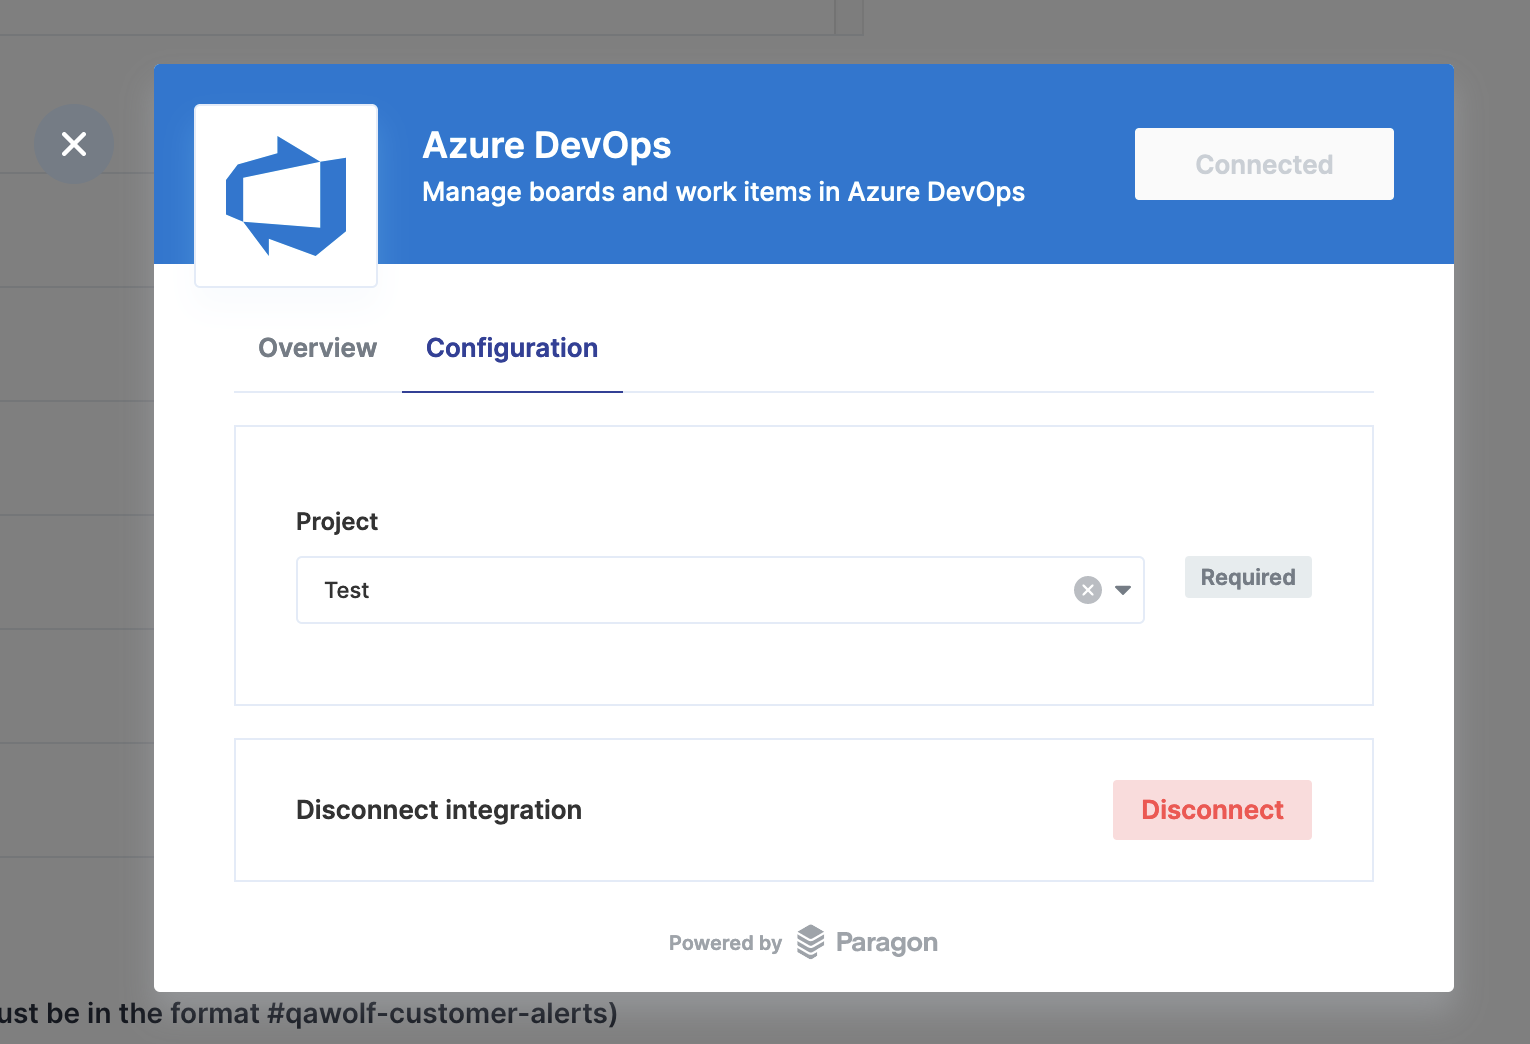
Configuring Azure DevOps
Access https://dev.azure.com/
<ORGANIZATION_NAME>/_settings/organizationPolicy where <ORGANIZATION_NAME> is the DevOps organization name. (We may need to request an authorized user to do this).