Overview: Environments
In the QA Wolf platform, an environment corresponds to a specific version of your app, such as development, staging, or production. Each environment can be configured with separate variables (e.g., base URL, users), concurrency rates, and other settings relevant to the application version you’re testing. Flows and tests are unique to each environment and are not shared across environments.How to: Create, rename, and delete environments
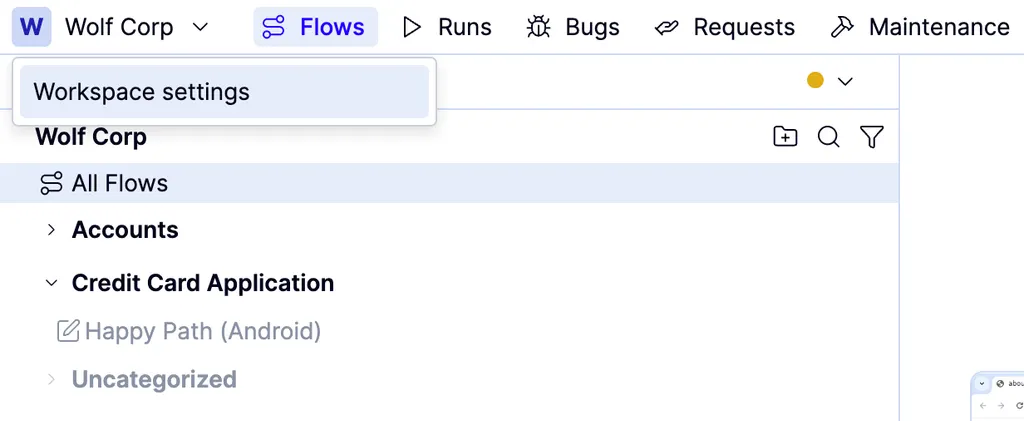
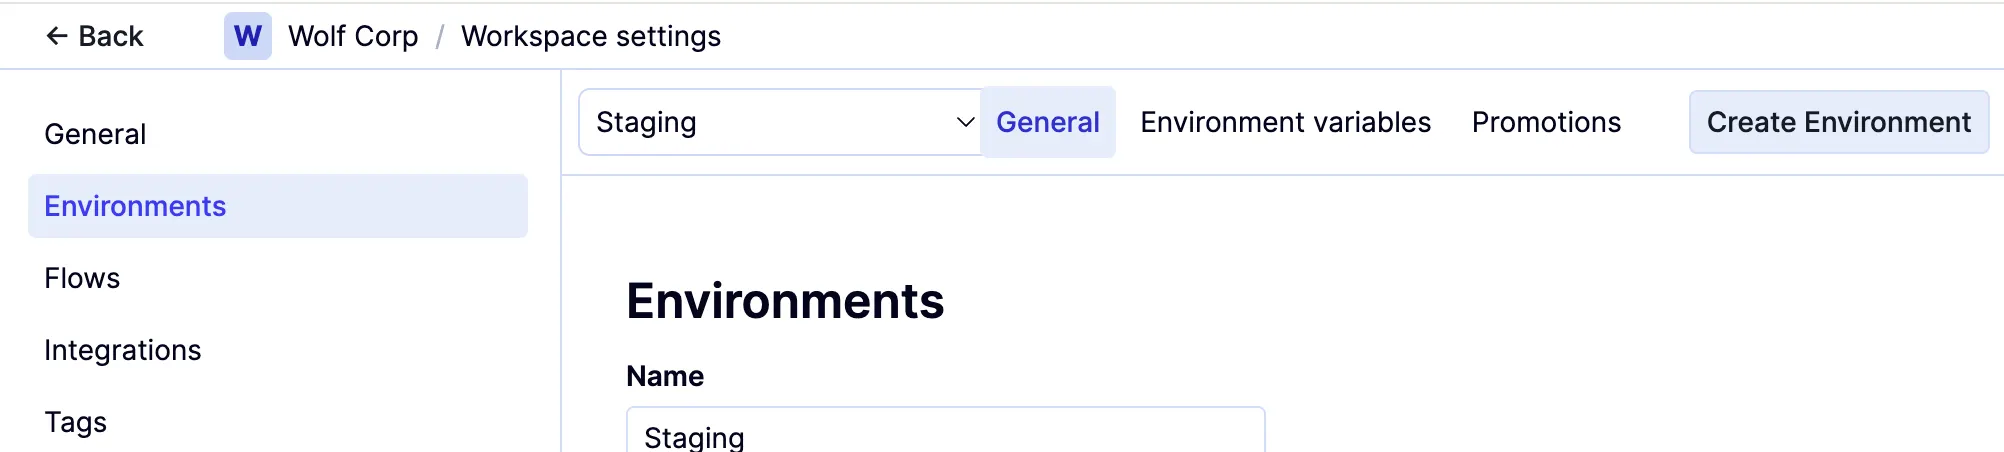
How to: Create, rename, and delete environments
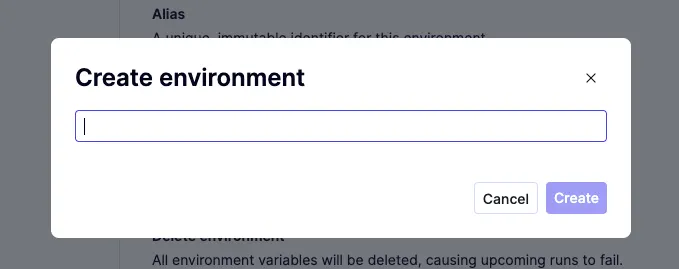
To create a new environment:

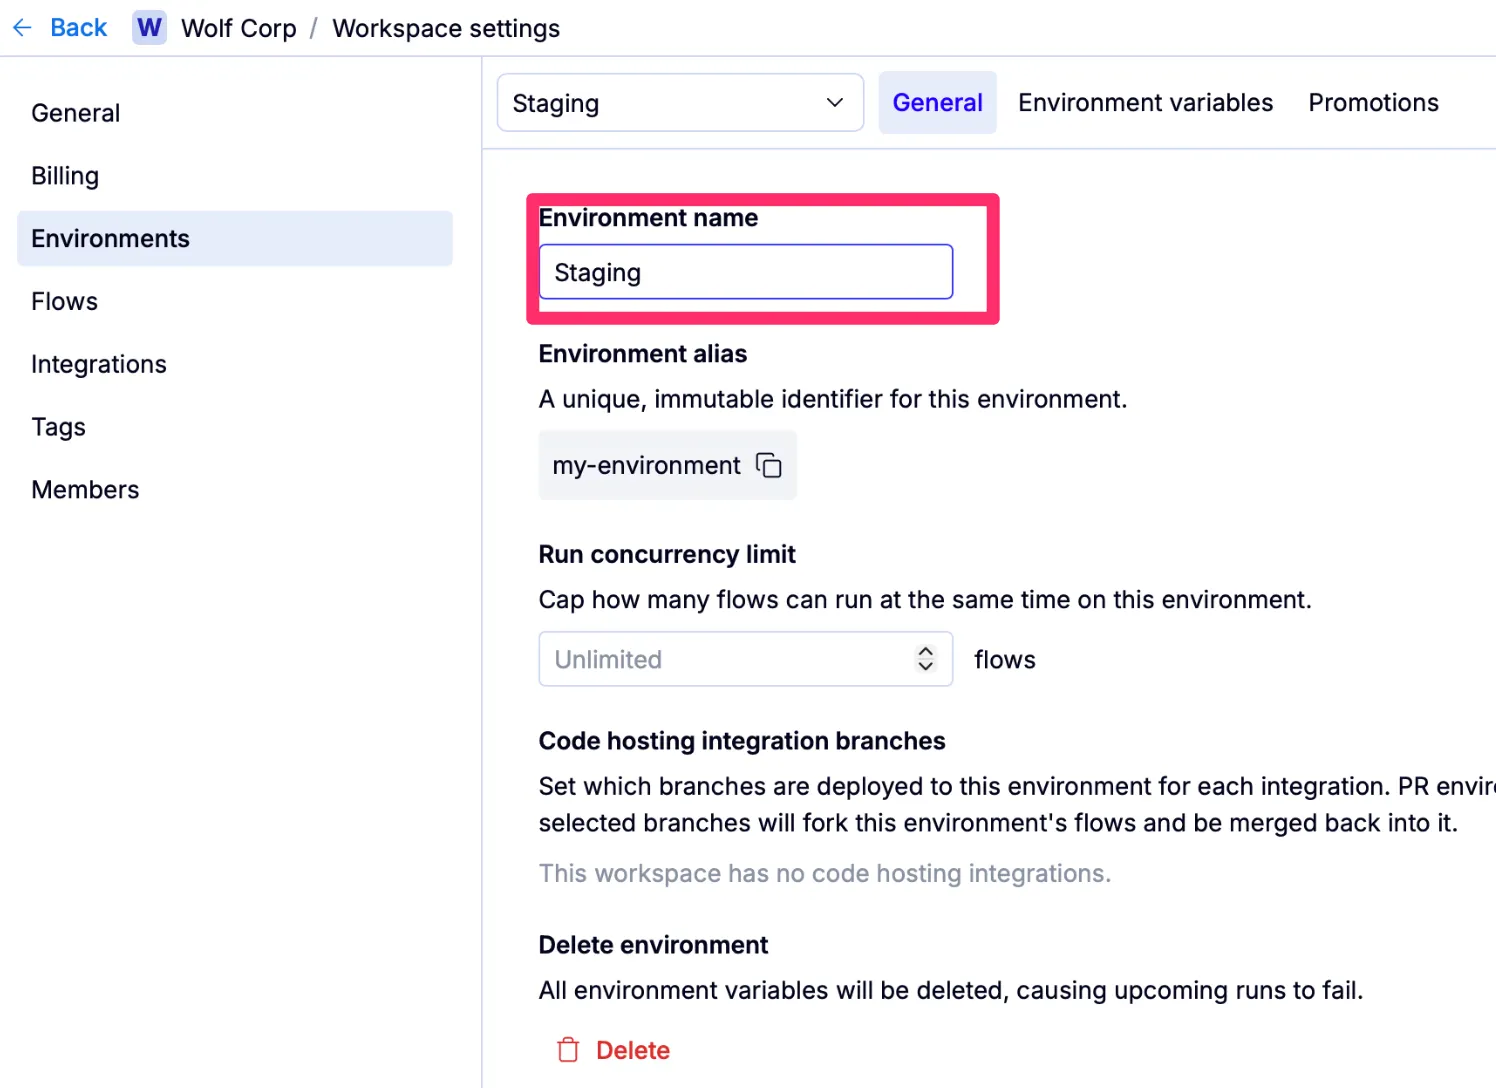
To rename an environment:
To delete an environment:

You can also access Environment settings from the Runs tab by hovering over any environment listed under Static environments to show the icon, then clicking it.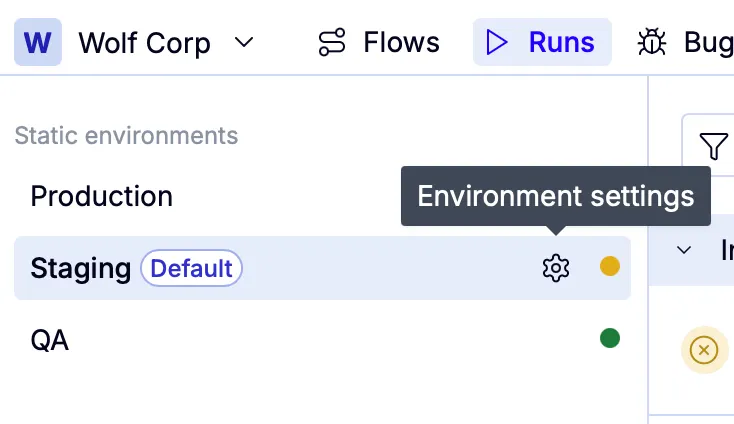
How to: Change your default environment
How to: Change your default environment

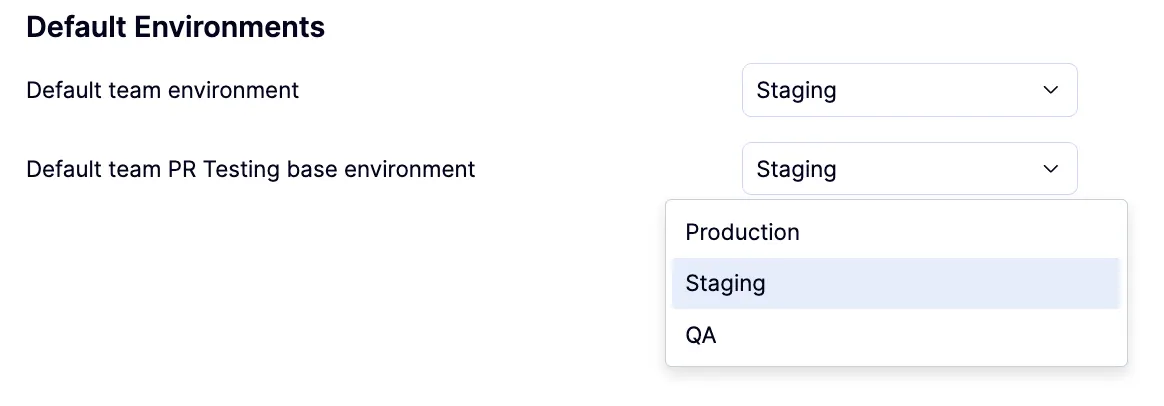
Under Default environments, choose the environment you want the Flows and Runs tabs to use by default from the Default team environment dropdown.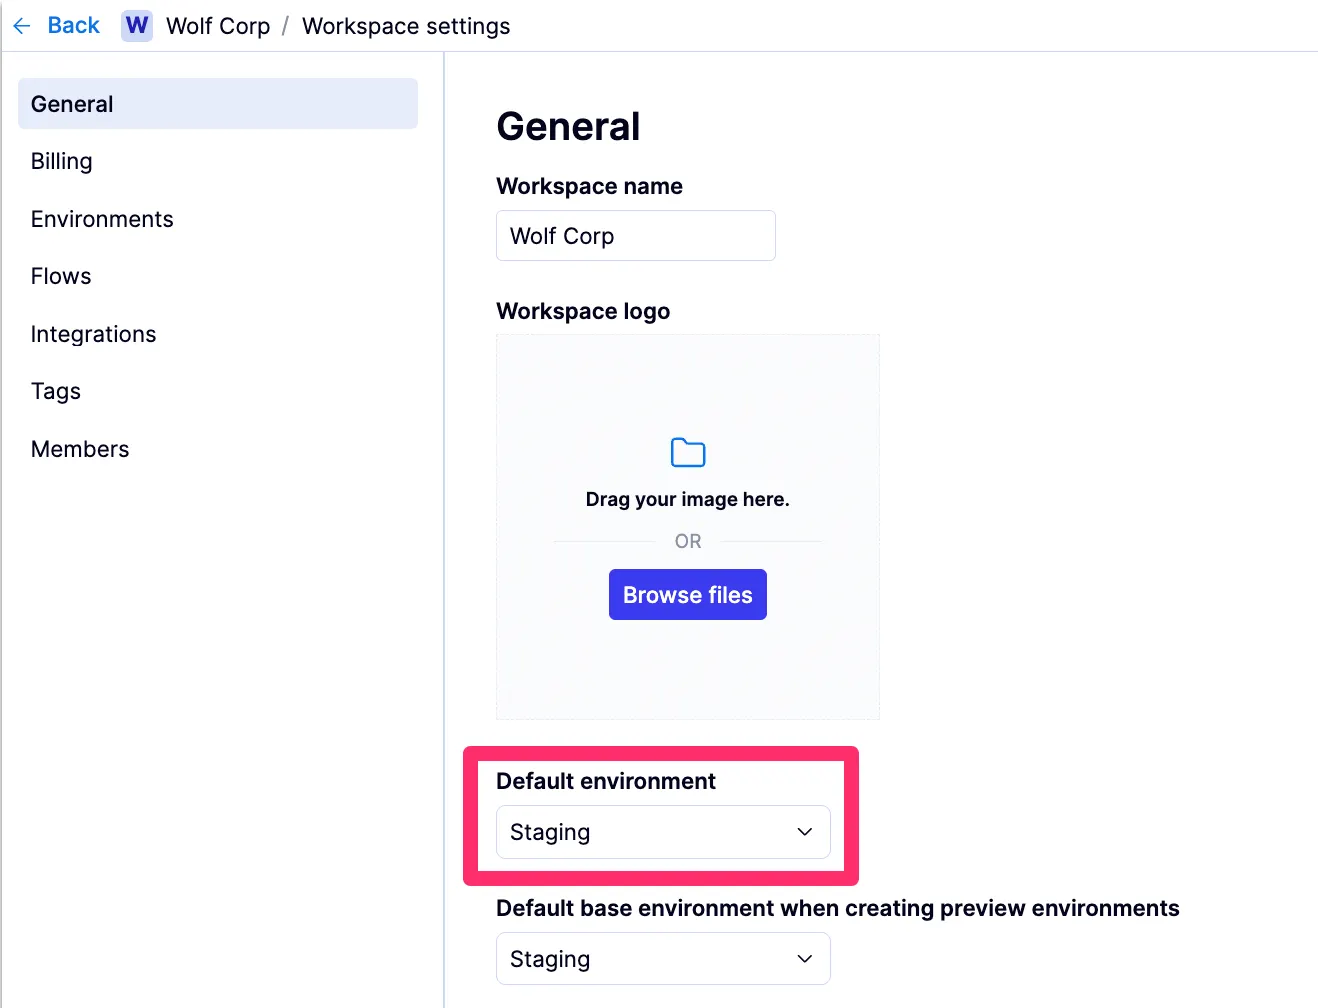
Contact your QA Wolf Customer Success Manager to assist with PR testing configuration.
How to: Limit the concurrency on an environment
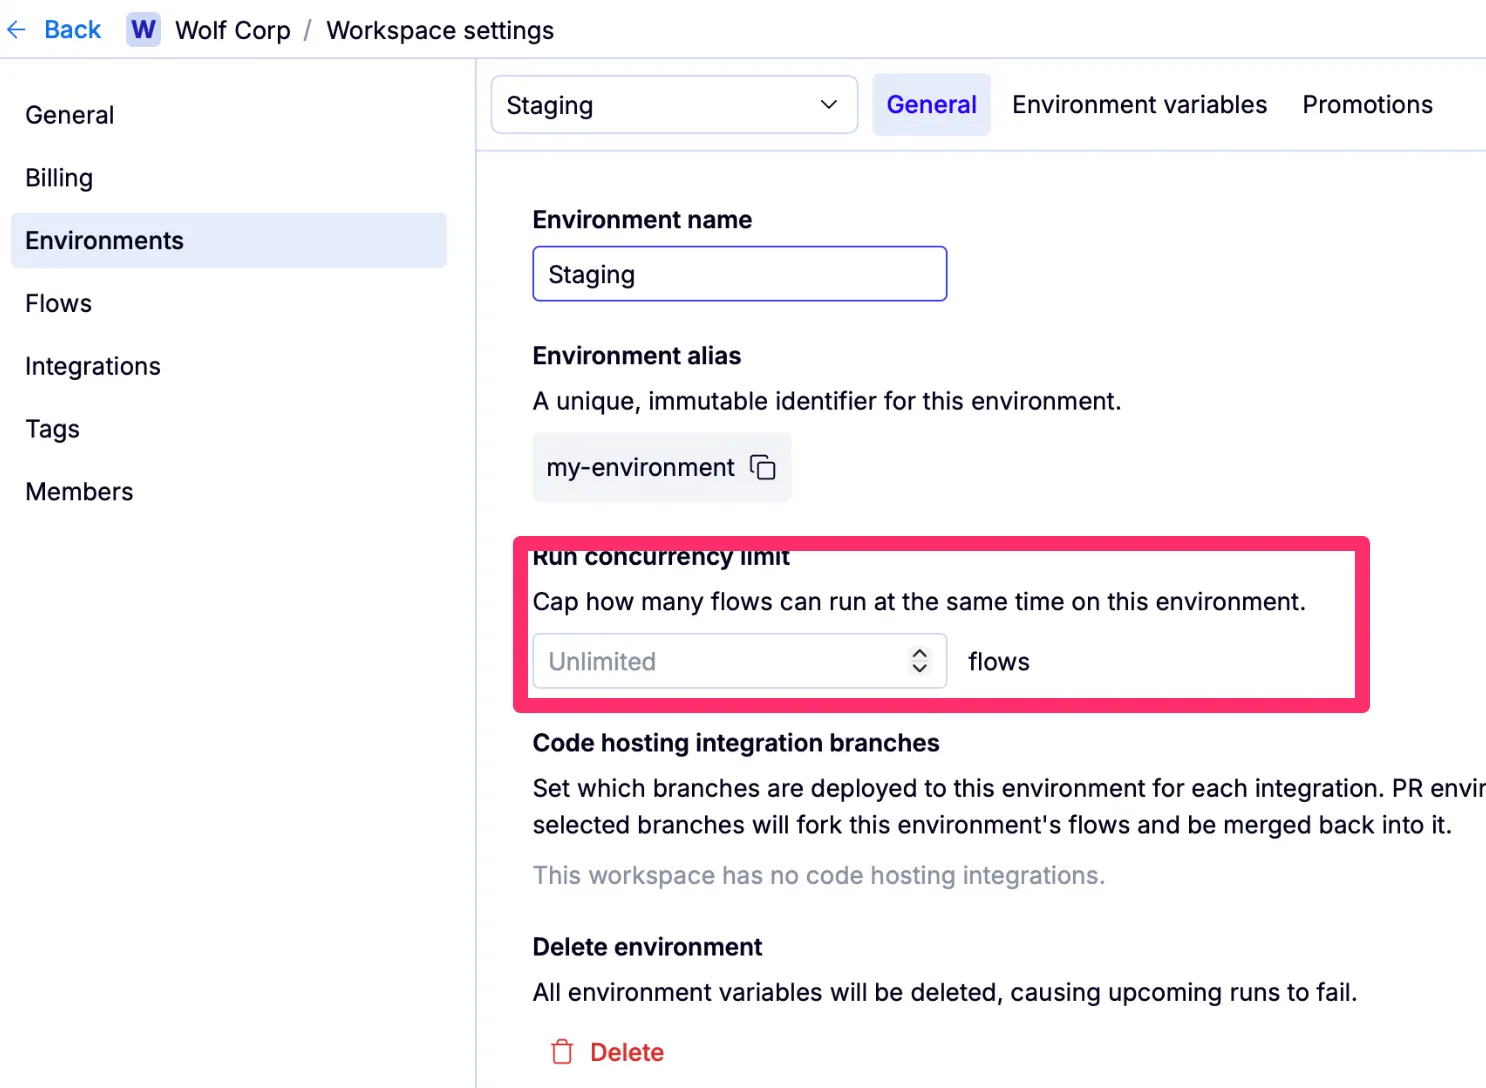
How to: Limit the concurrency on an environment

How to: Declare and manage environment variables
How to: Declare and manage environment variables
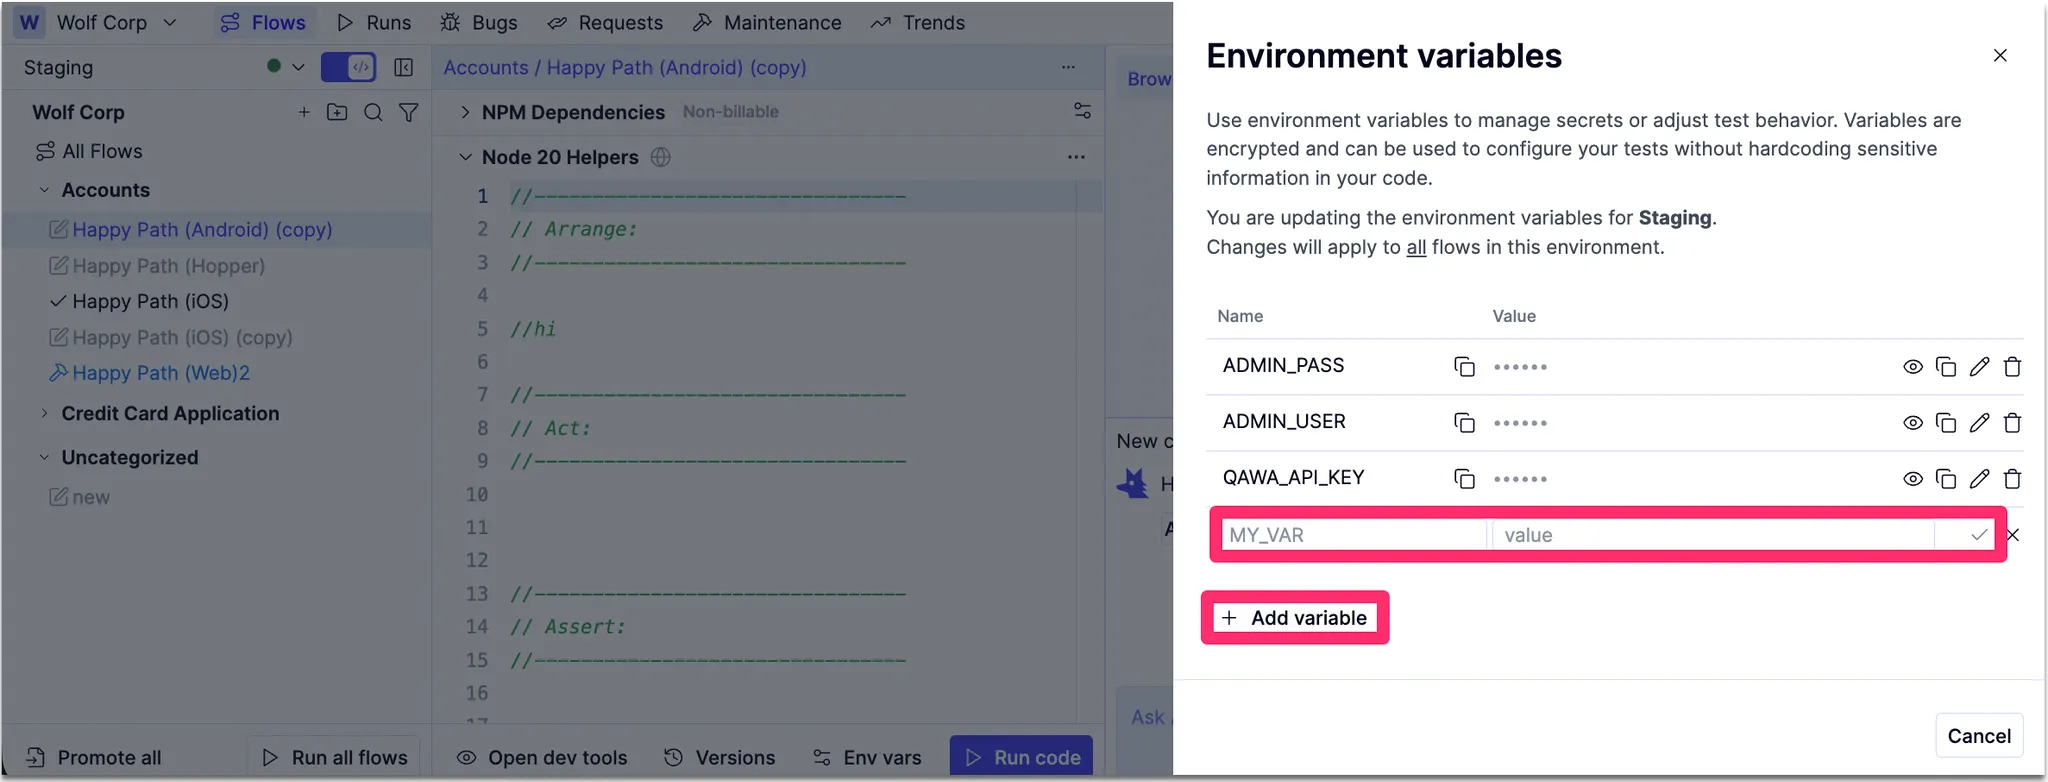
Overview: Environment variables
In the QA Wolf platform, environment variables are encrypted constants scoped to a specific environment.You can use the same variable across environments by reusing the same name in each environment and setting the appropriate value for that environment (for example, BASE_URL in Staging vs Production). QA Wolf doesn’t enforce cross-environment consistency—this pattern relies on naming conventions.How to:
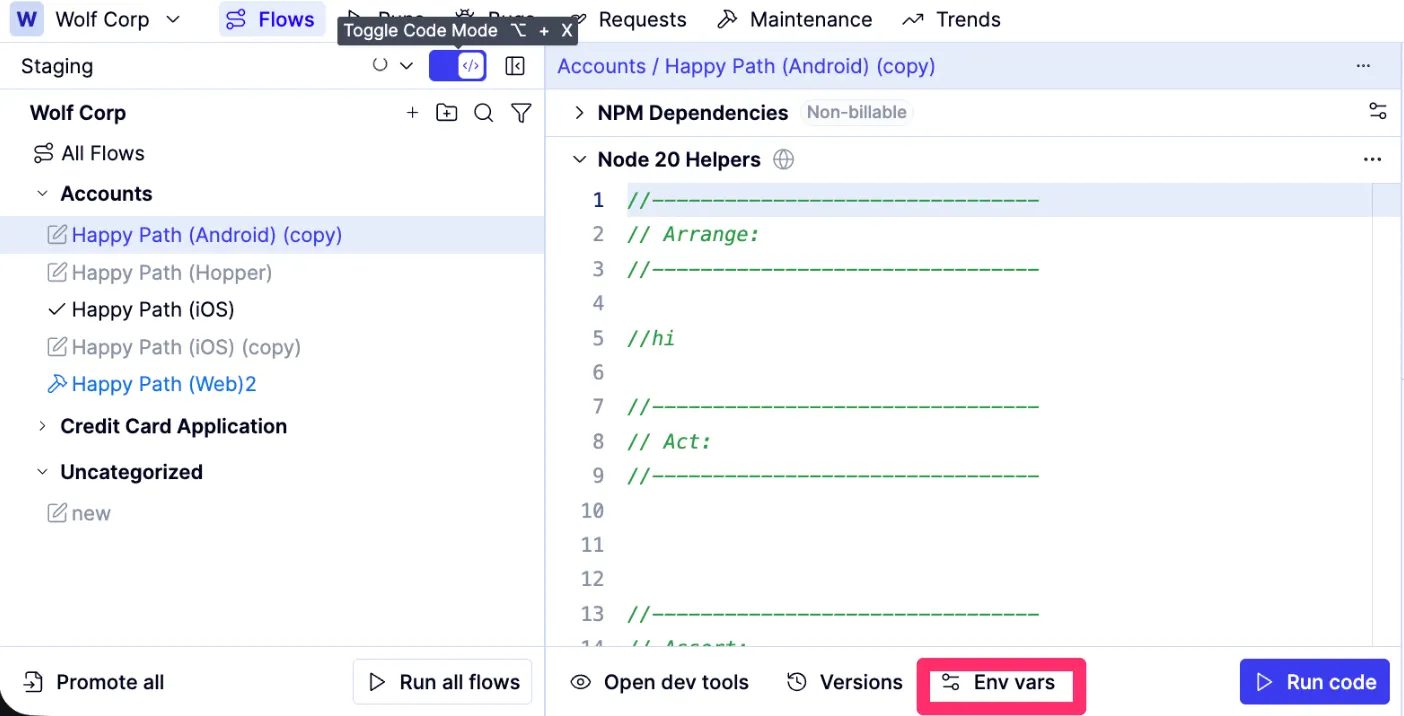
Click the Env vars button below the code editing window. The Environment Variables tab opens in a side drawer. Here, you’ll see all existing environment variables for the selected environment.