Overview: Using groups and flows
Groups and flows organize your testing environment. Groups are the top-level feature areas (for example, Authentication, Checkout, or Billing). Flows break each group into specific user journeys or scenarios. Each flow contains the tests that run those steps. Use groups to keep your environment easy to navigate—for both your team and the AI—so coverage planning and flow management stay organized. Use flows to plan how you’ll test a feature before writing code. You can generate a starting plan with AI or create flows manually for more control. The Flows tab is where you create and manage flows for the selected environment. By default, the list shows All Flows.How to: Create, edit & delete groups
How to: Create, edit & delete groups
To create a new group:
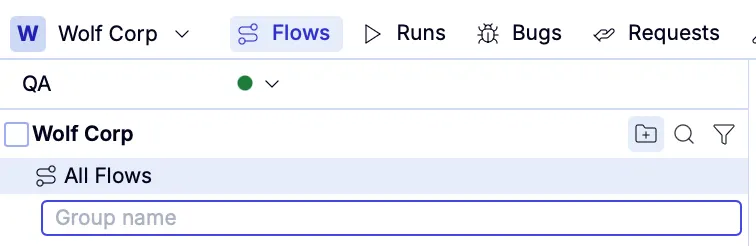
Use clear, descriptive names that reflect your app’s feature areas—this helps both you and AI keep plans organized.
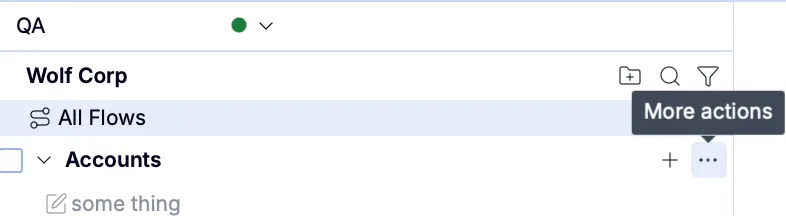
To rename or delete a group:
How to: Create, edit & delete flows
How to: Create, edit & delete flows
To add a flow, you must first add a group.
To create a new flow
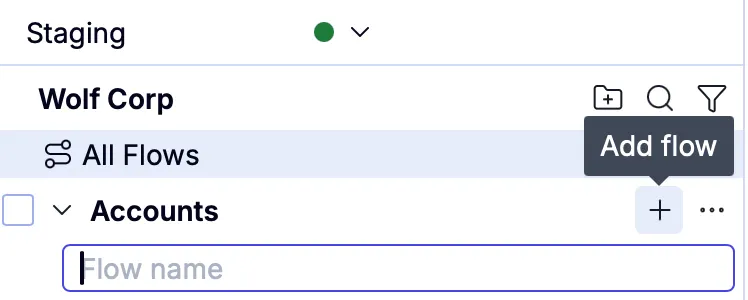
Use clear, descriptive names that reflect your app’s feature areas—this helps both you and AI keep plans organized.
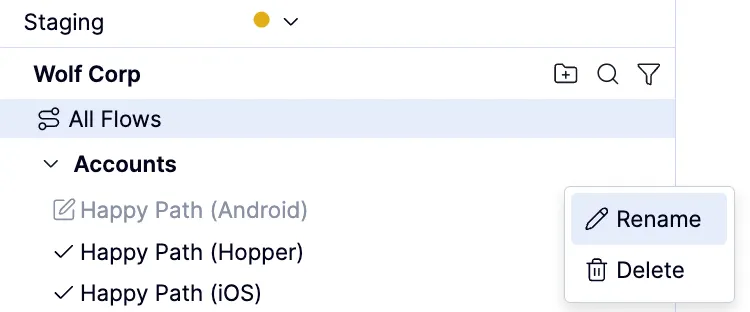
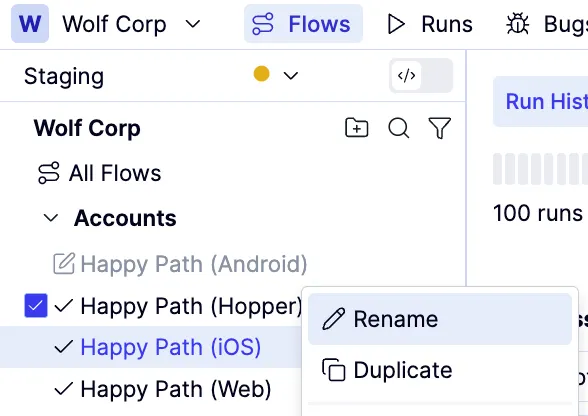
To rename a flow:

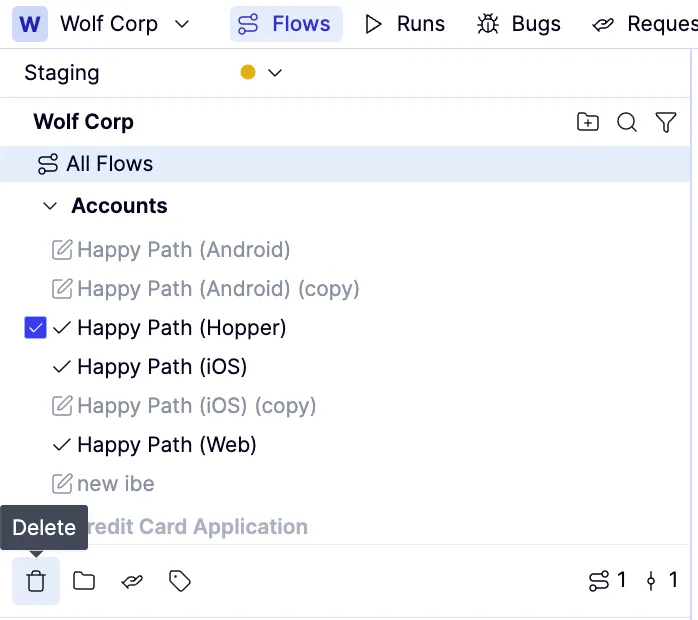
To delete a flow:
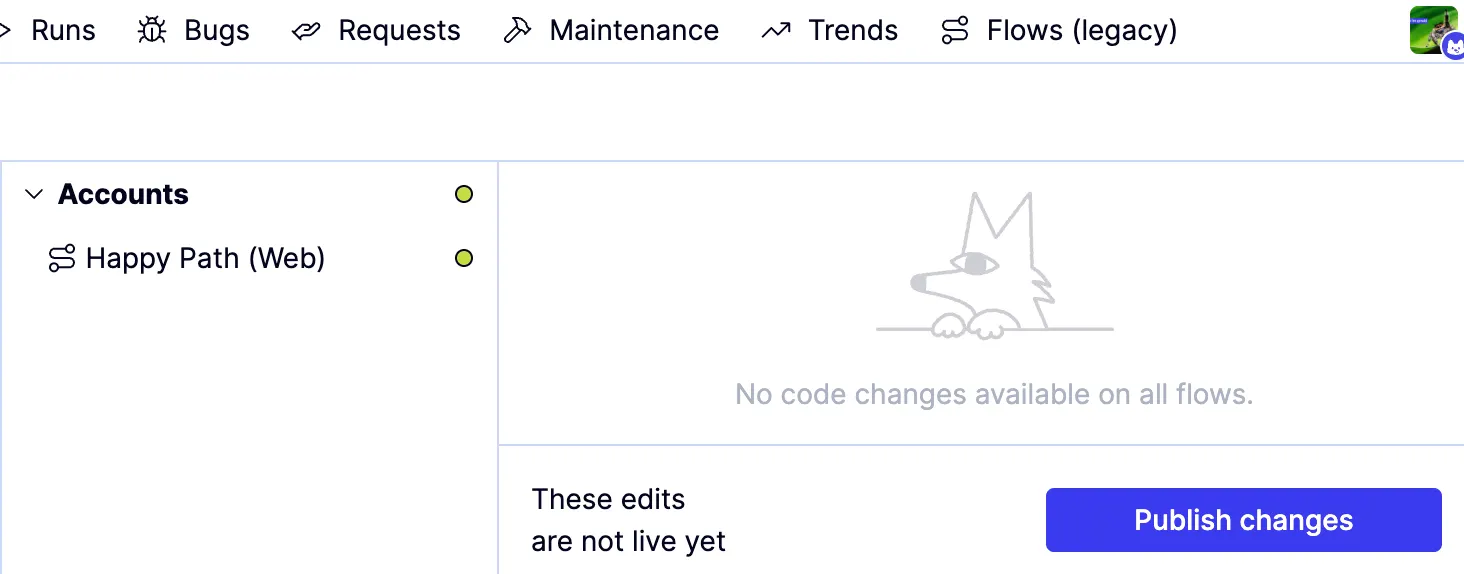
To review and publish changes:
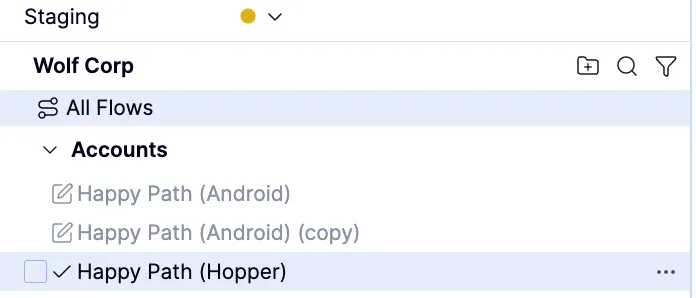
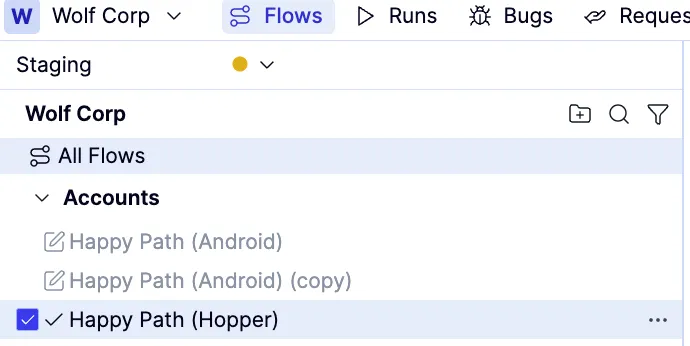
When you add, edit, or delete a group, or edit or delete a flow, you must review and publish your changes.When adding groups, or editing groups and flows, the icon will appear next to all affected items in the Flows list on the Flows tab.
When deleting flows or groups, the name will be struck through, and red icons appear on the right to indicate they’re marked for deletion.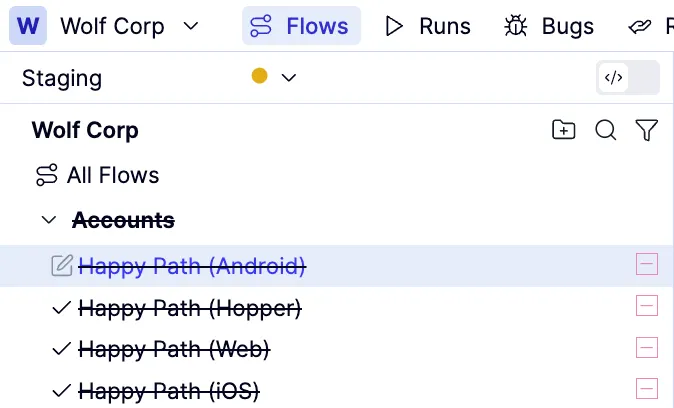

How to: Share a flow (copy link, name, or ID)
How to: Share a flow (copy link, name, or ID)
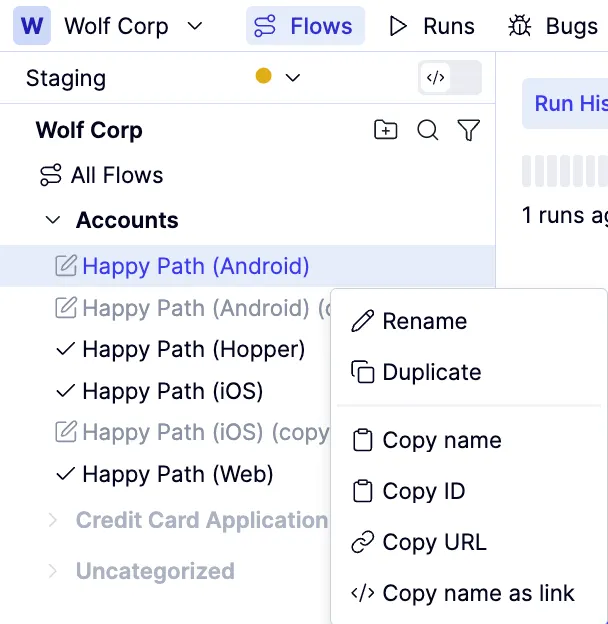
To share flow information:
Select Copy name as link or Copy URL to copy a link to the flow to your clipboard so you can paste it where the other person can use it.
Select Copy name to copy a link to the flow to your clipboard so you can paste it where the other person can use it.
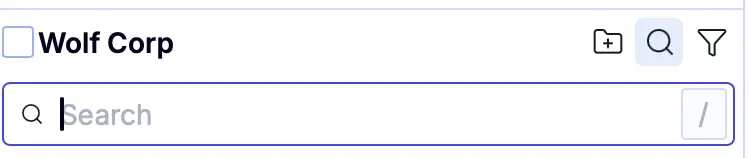
How to: Search and filter flows
How to: Search and filter flows
How to: Edit flow settings
How to: Edit flow settings
To access flow settings:
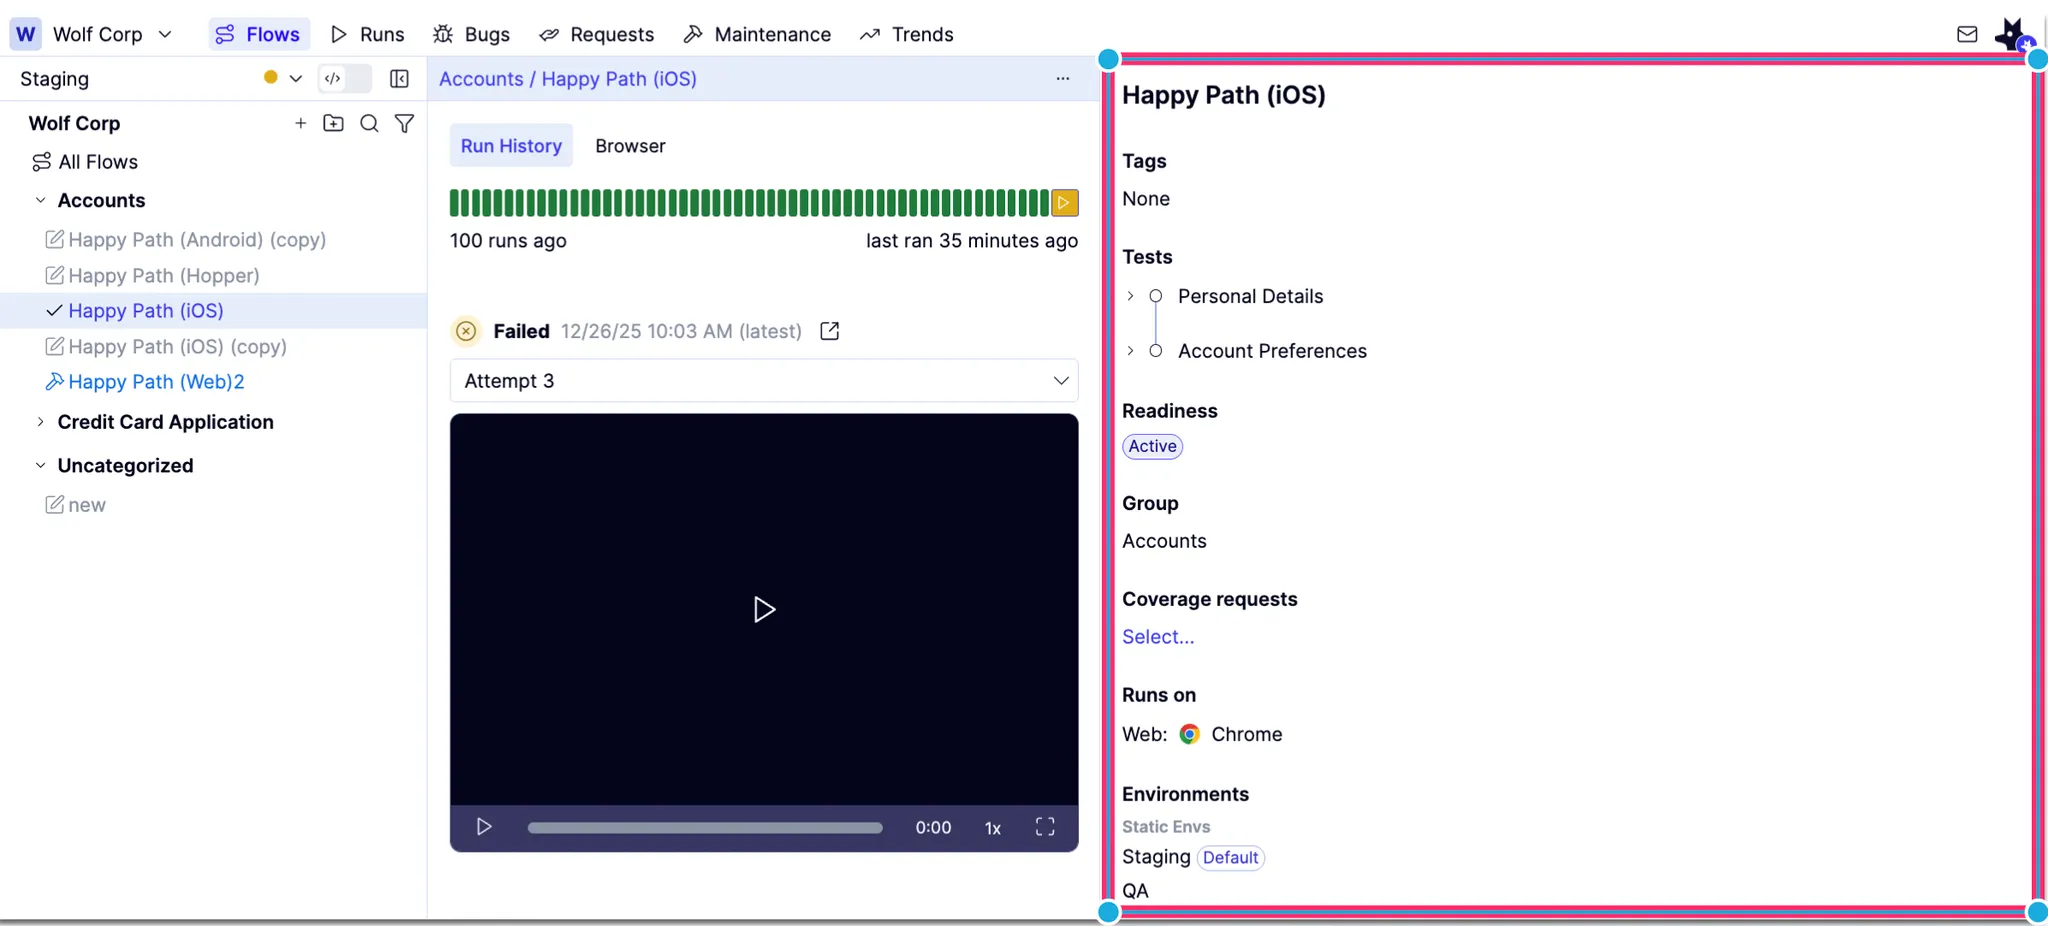
To add or remove tags from a flow:
To set the Readiness status of a flow:
Only flows in Active status can be executed in scheduled runs.
To move a flow to a different group:
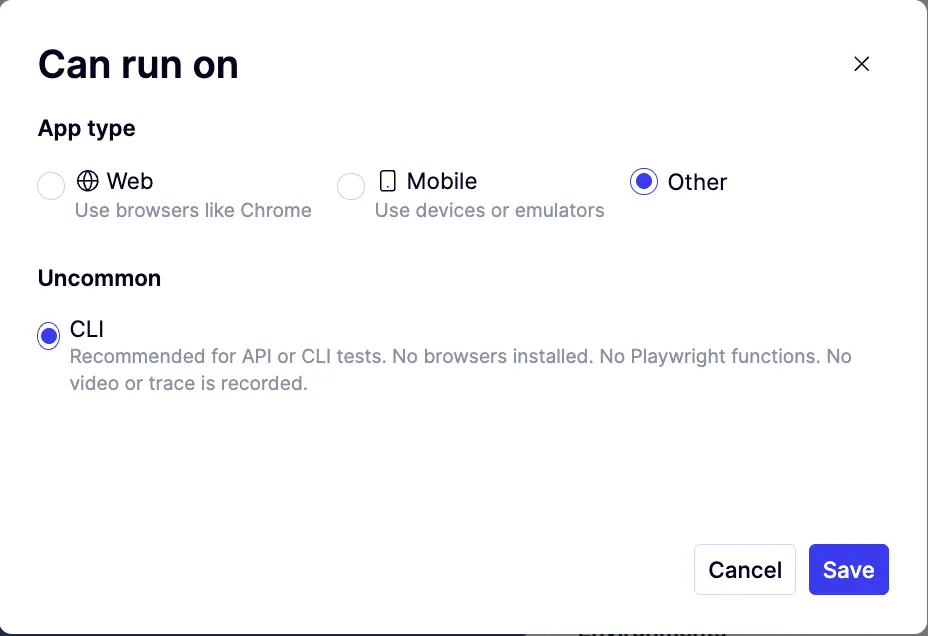
To change the browser or device a flow uses to execute:
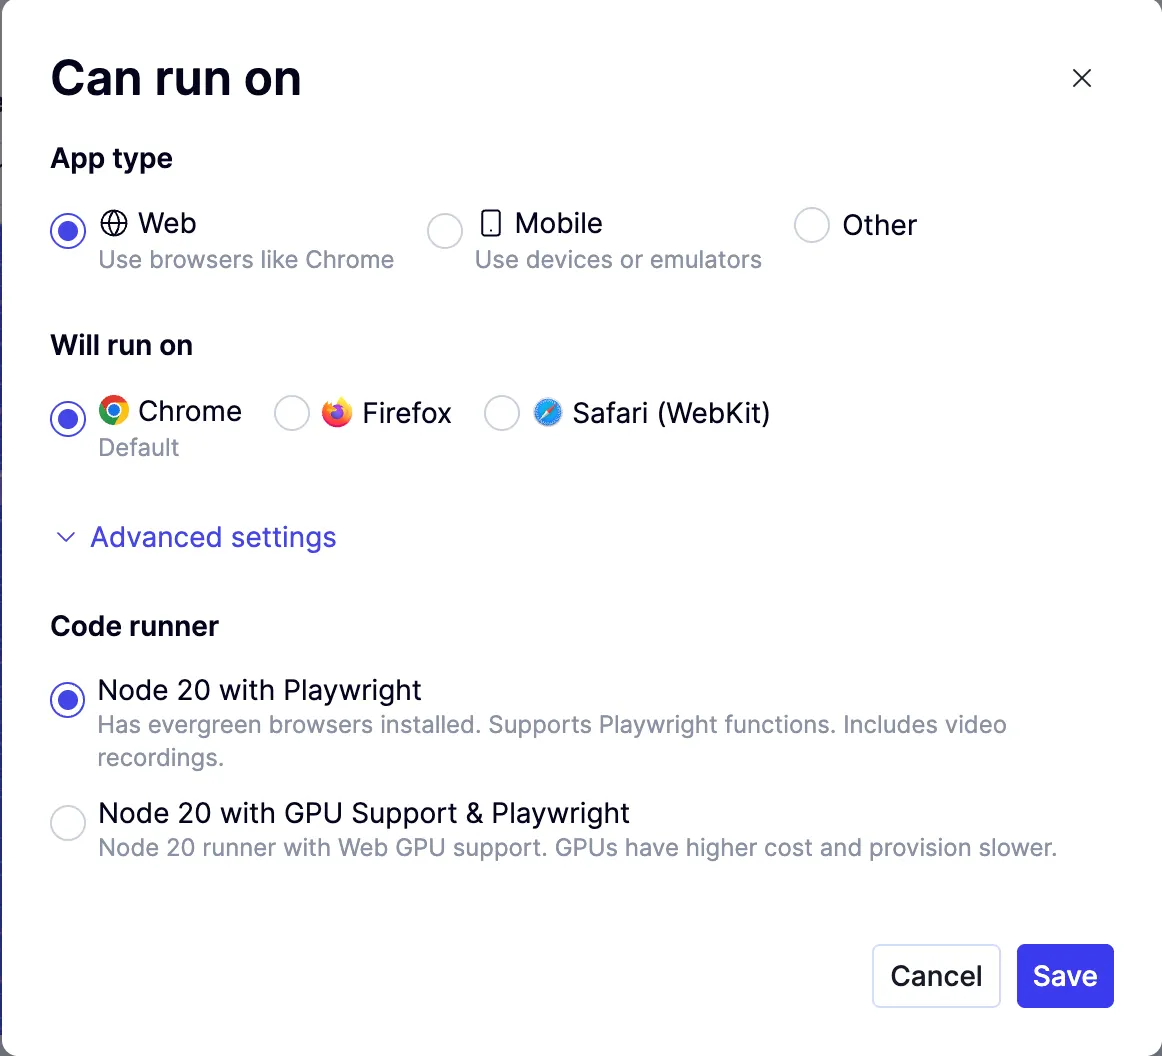
Use the Other app type lets you run a test against a non-UI target, such as testing APIs or coordinating state for Hopper flows.