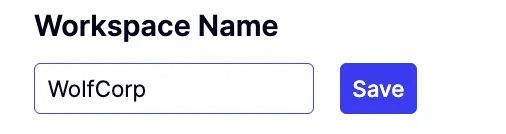
How to: Change your team's display name
How to: Change your team's display name

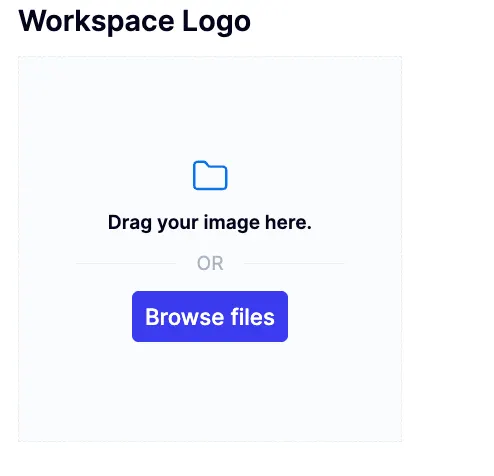
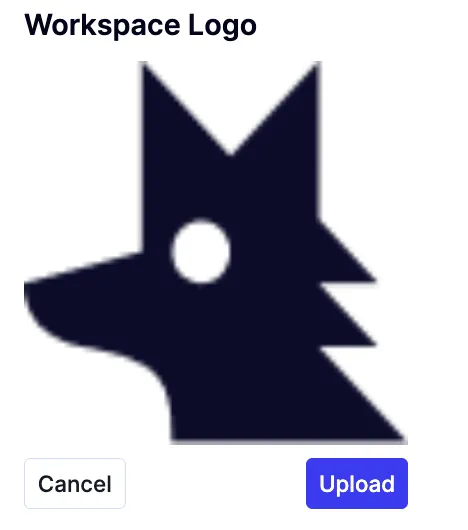
How to: Change your team's logo
How to: Change your team's logo


How to: Inviting members
How to: Inviting members

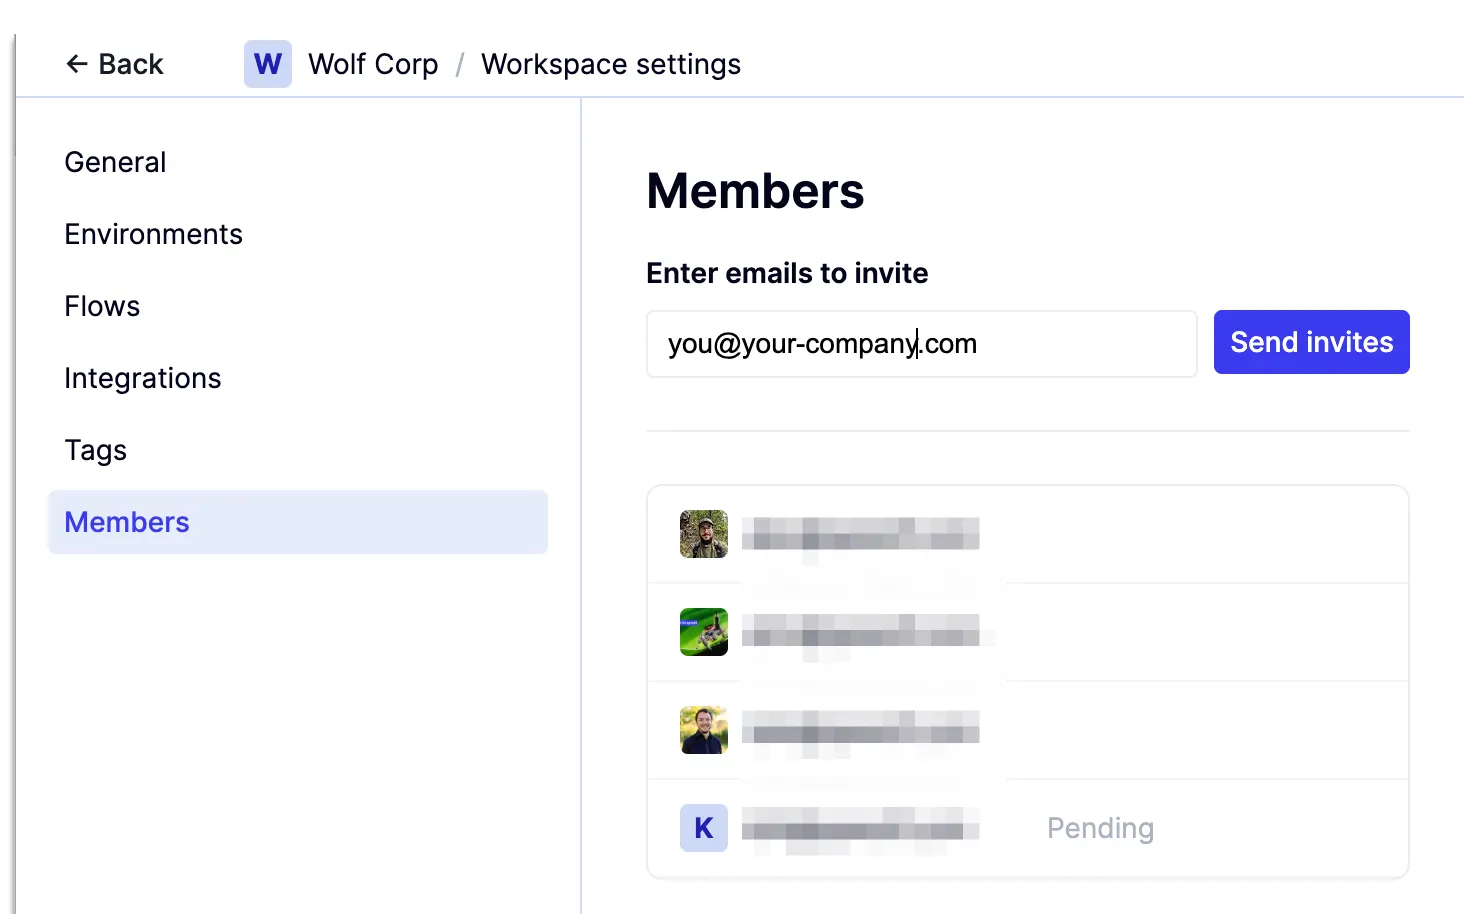
In the Enter emails to invite field, type the email address of the team members you want to grant access to.
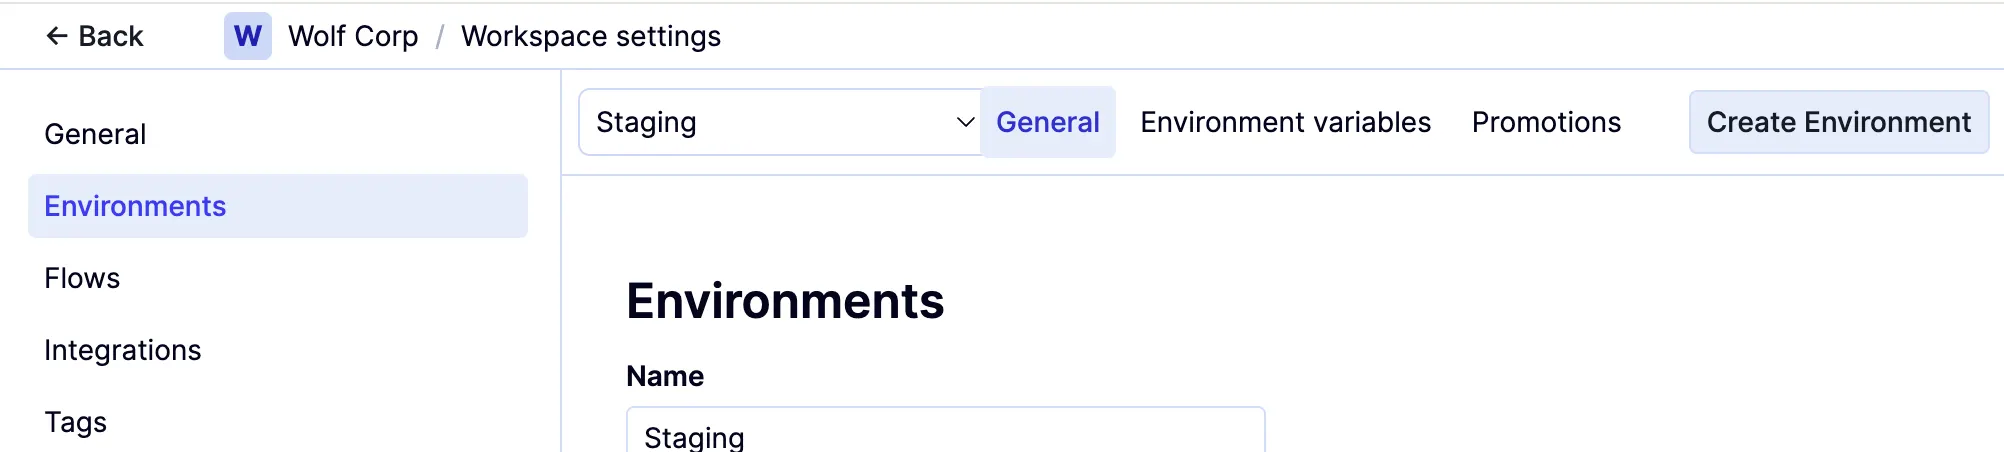
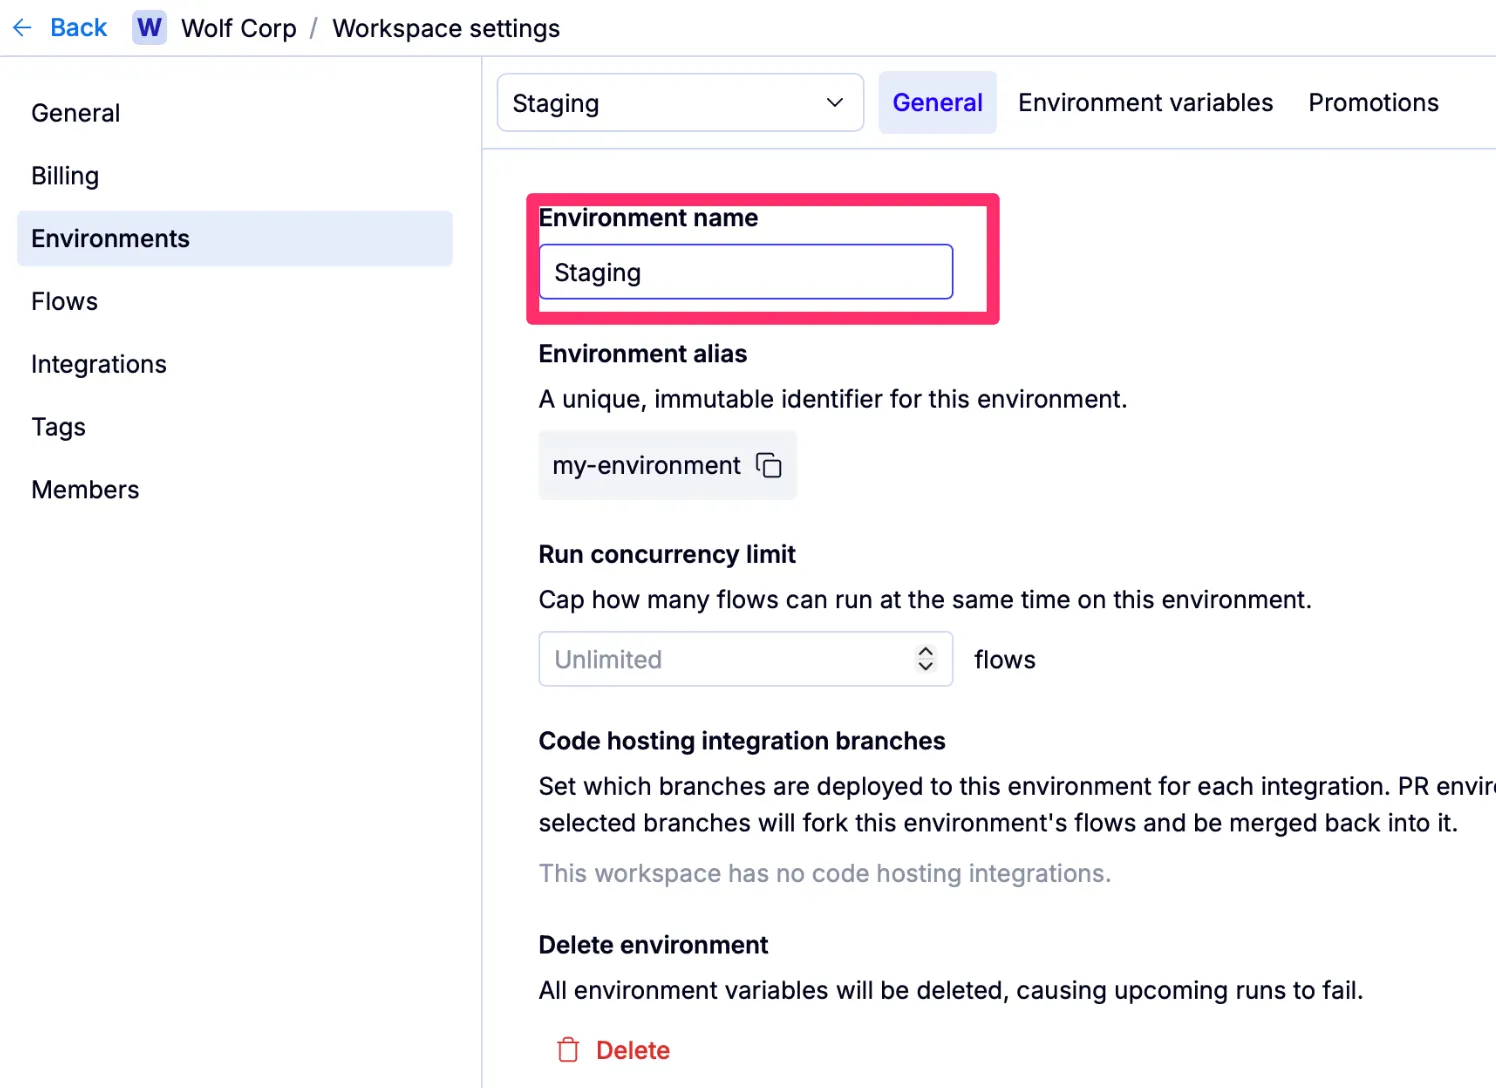
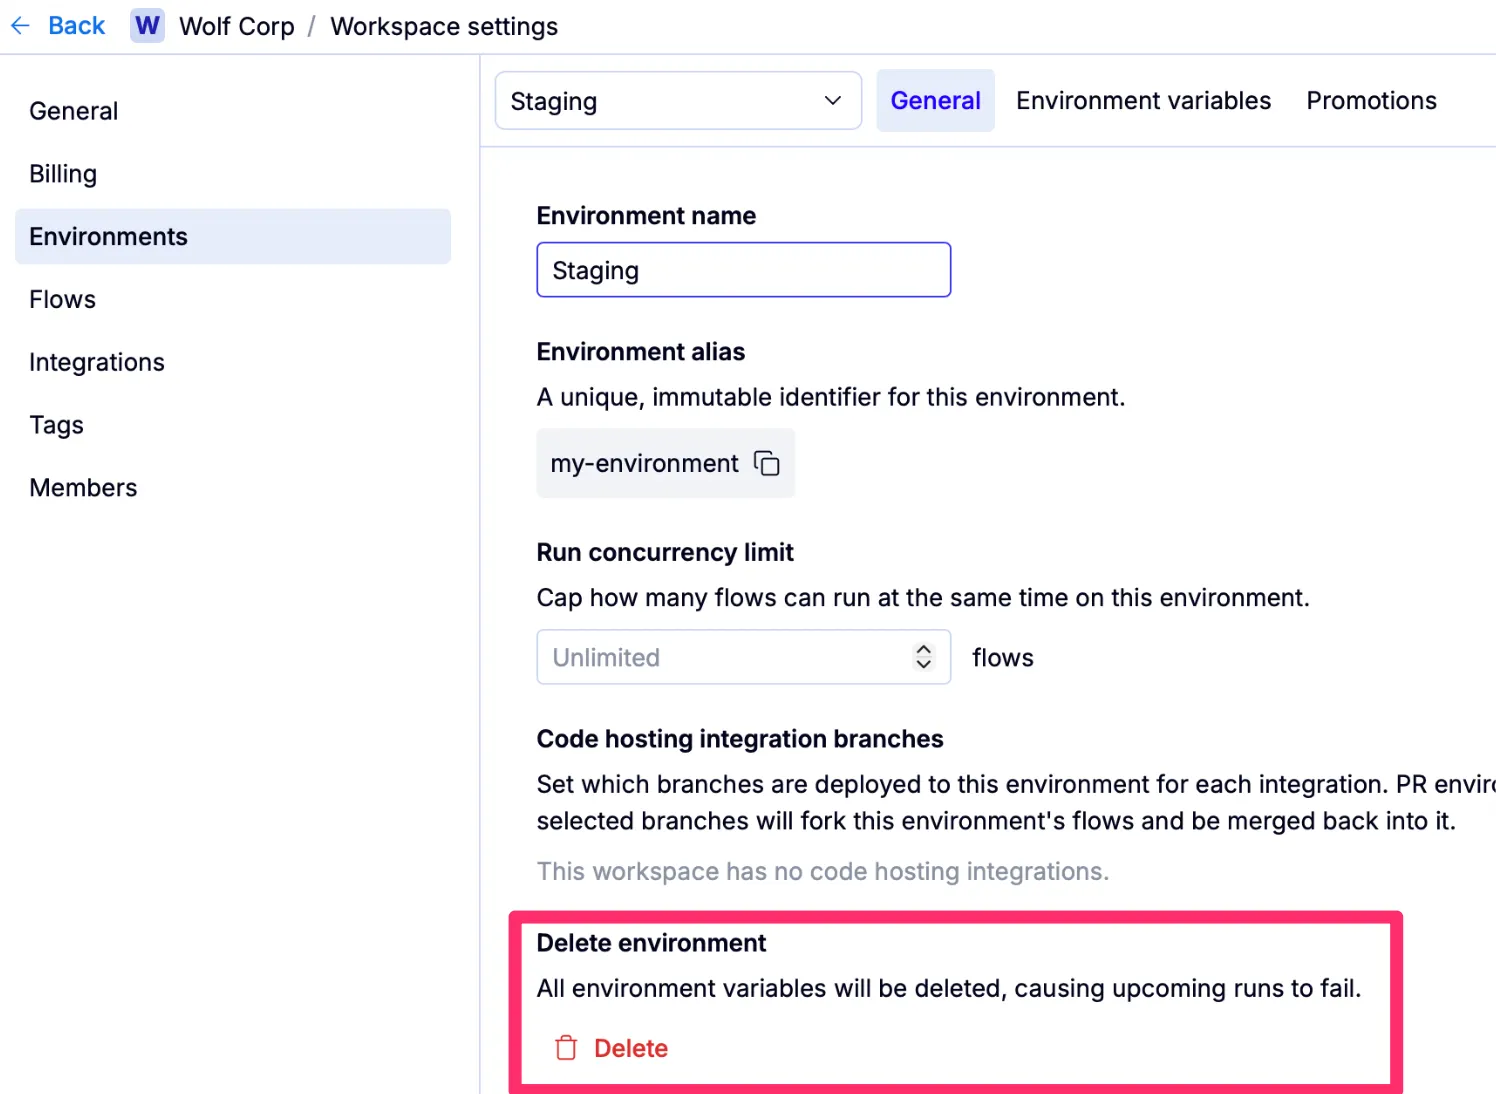
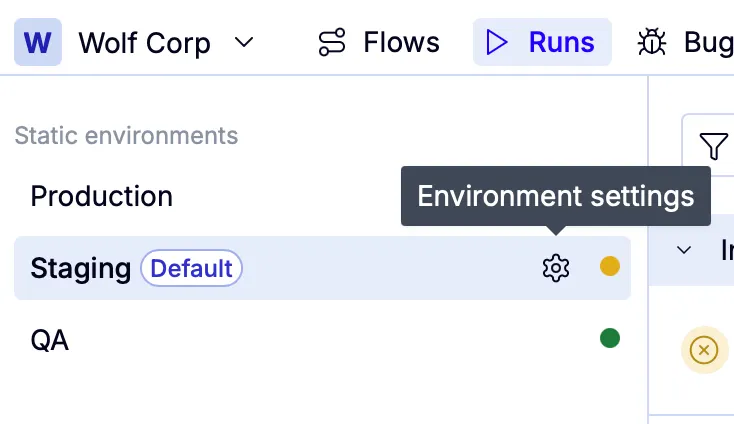
How to: Create, rename, and delete environments
How to: Create, rename, and delete environments
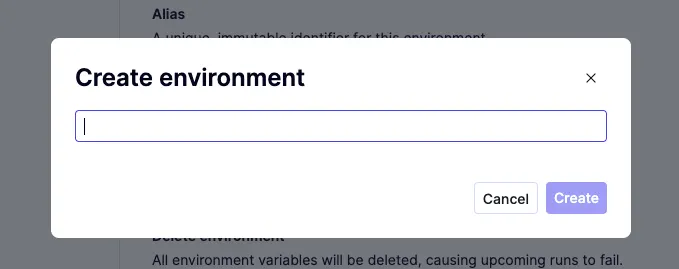
To create a new environment:

To rename an environment:
To delete an environment:
How to: Change your default environment
How to: Change your default environment


Scroll to Default environment and select one from the drop down. This will set the default for any Flow or Run that doesn’t have another environment specified. environment you want the Flows and Runs tabs to use by default from the Default team environment dropdown.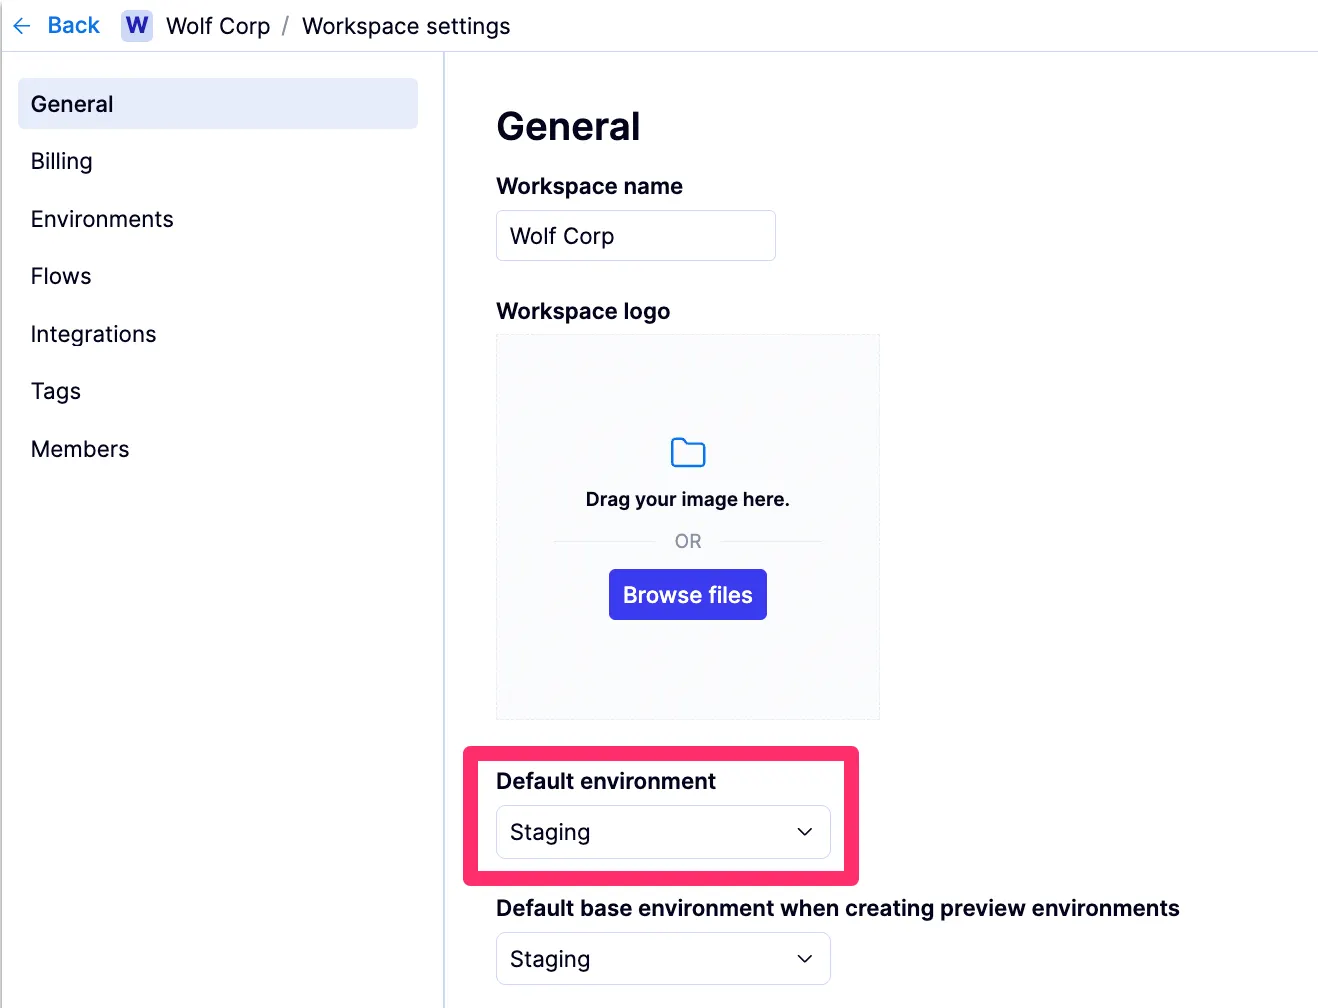
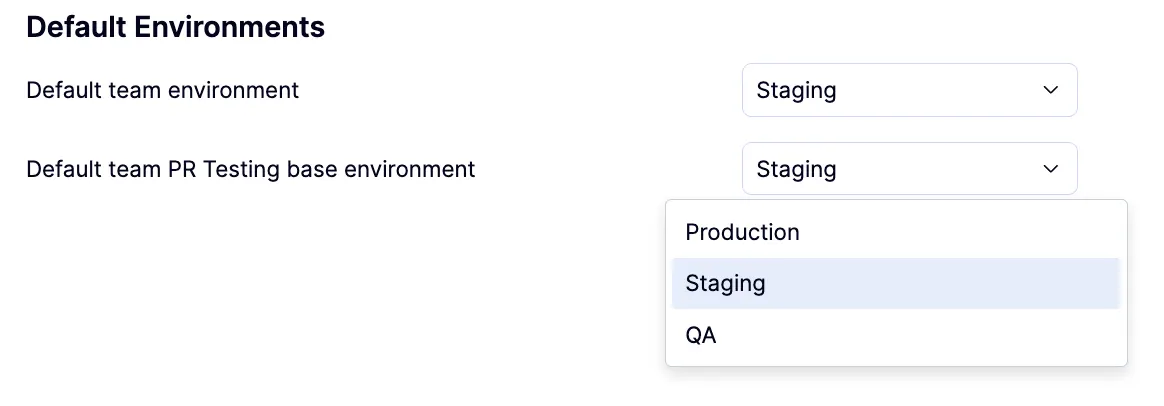
Contact your QA Wolf Customer Success Manager to assist with PR testing configuration.
How to: Configure the default runner
How to: Configure the default runner
Node 20 with Playwright is the default runner.
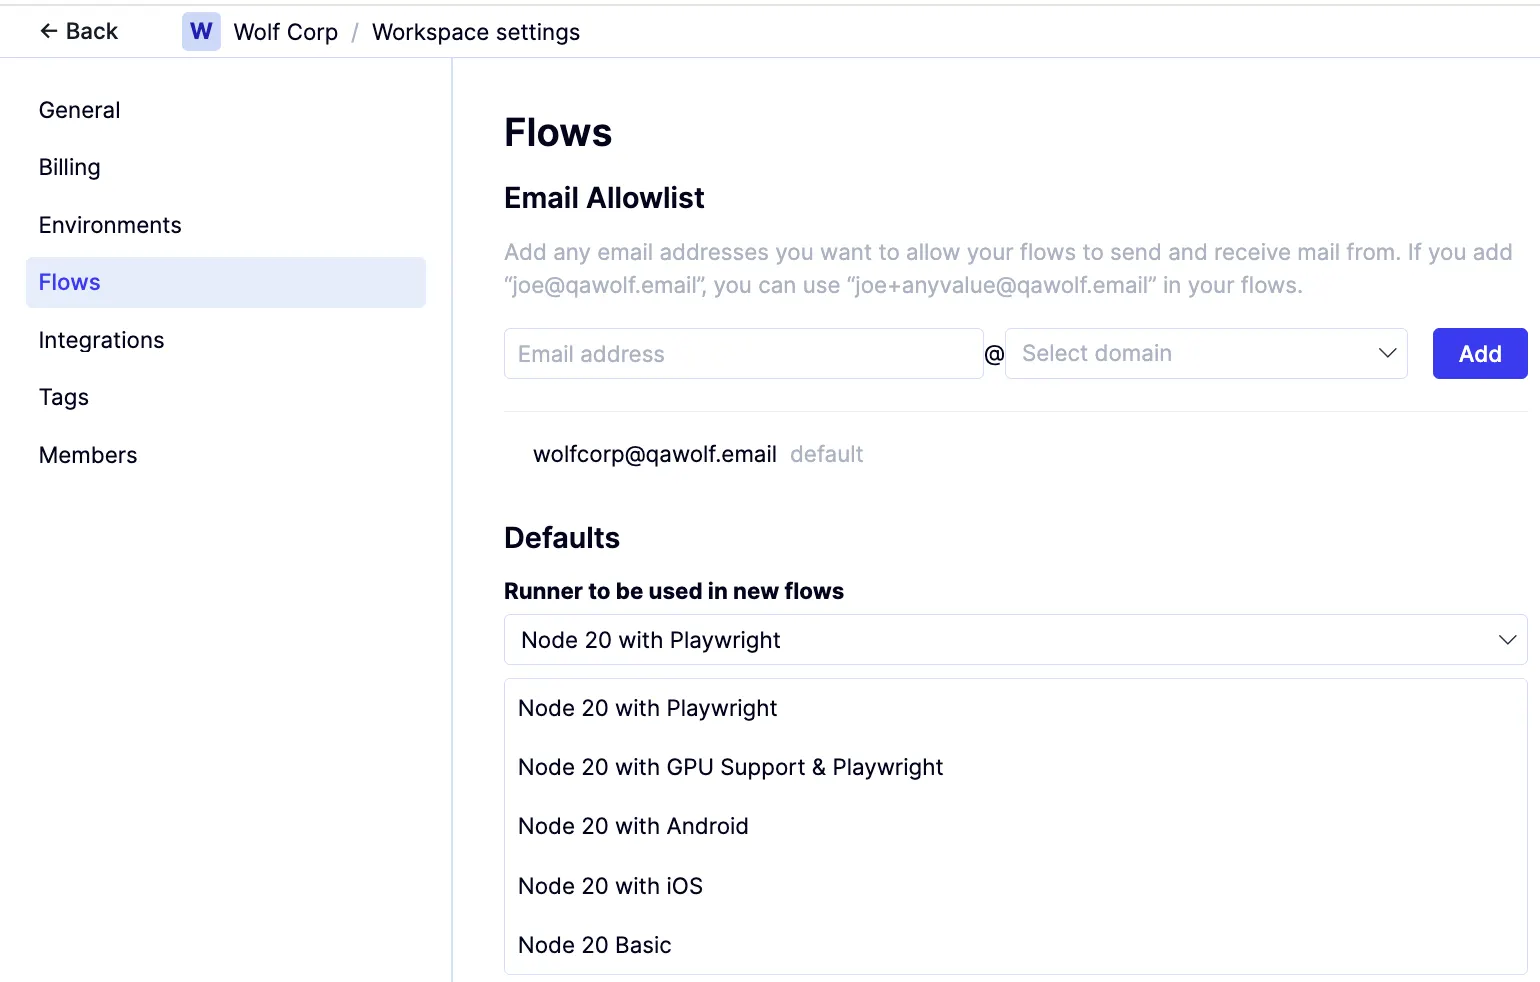
Under Defaults, use the Runner to be used in new flows dropdown to choose a new default runner.
The default runner can be overwritten for an individual flow in one of two ways:When you create a flow, a pop-up allows you to select the runner for the flow.When you select a flow from the Flows list on the Flows tab in No-code mode, the right panel gives you the ability to modify the runner using the Runs on field.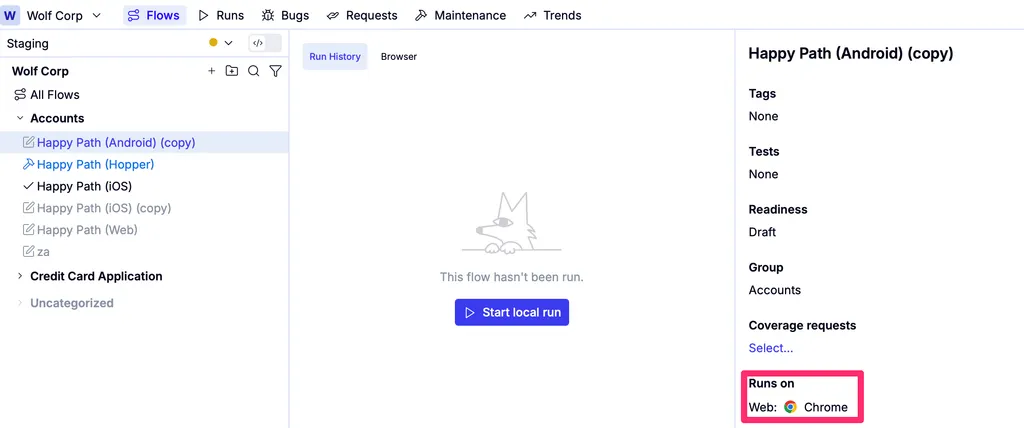
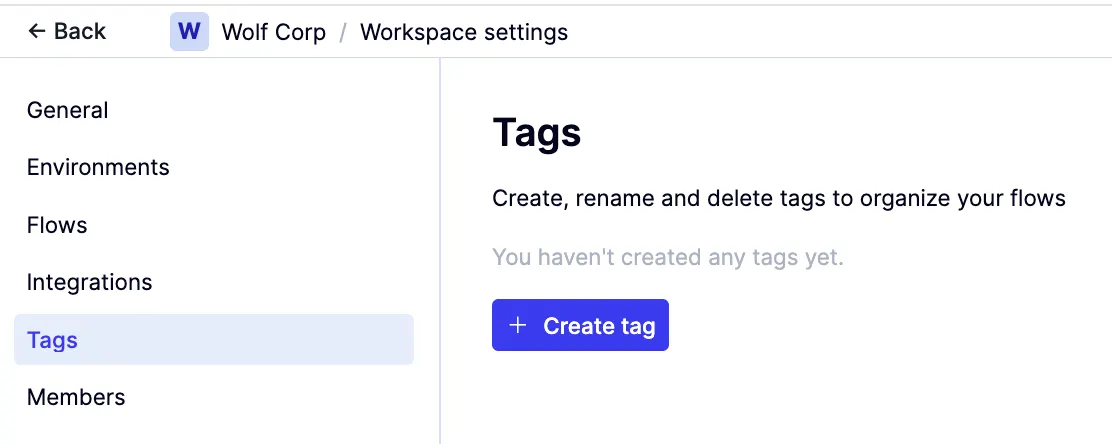
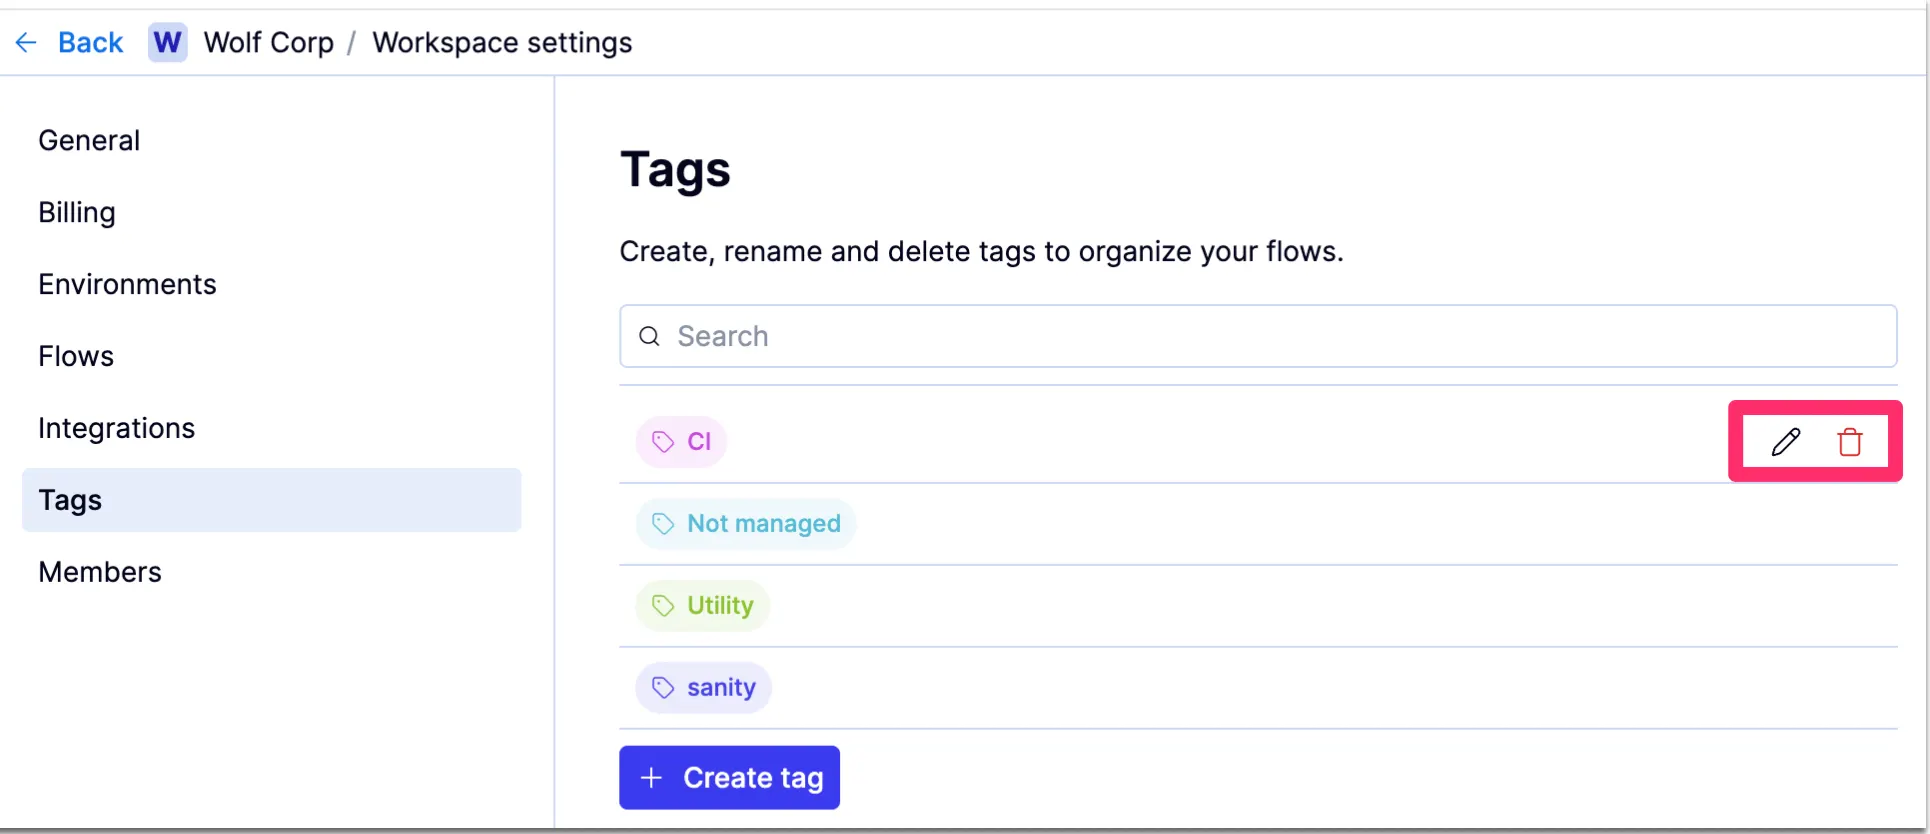
How to: Create and edit tags
How to: Create and edit tags
Overview: Understanding tags
In the QA Wolf platform, tags serve two purposes:- They aggregate flows for scheduled runs, so that all flows with the same tag run together.
- Tags are also used by run rules to control execution order.