You have three ways to request new test coverage:
- Open a coverage request in the platform
- Send a message in Slack, Teams, or Discord
- Tag QA Wolf in Jira or Linear. Tag the ticket with QA Wolf and we’ll pick it up from there.
What to include in the coverage request
We can get started with a message as simple “New onboarding flow in staging, ready for tests” but the more detail that you provide, the less follow up we’ll need and the faster we can get the tests live. We have found that using this format yields the best results for our customers: Objective: Describe the goal of the flow you want created. Example: Verify the user registration process to ensure a user can register and receive a confirmation email. Preconditions: List anything that must be set up before the test can run. Example: Access to a user with admin permissions. Steps: Outline the actions required to achieve the objective. Example:- Navigate to the registration page.
- Fill out the registration form with valid data.
- Submit the form.
- Check for a confirmation message.
- Verify a confirmation email is sent with correct details.
- Confirm that the user is created in the database.
- The form submits successfully.
- A confirmation message appears.
- A confirmation email is received.
- The user record is correctly created in the database.
What happens next
As soon as we receive the coverage request we will begin building tests. If you submitted a request via chat (Slack, Teams, Discord) or an issue tracker, a Coverage Request item will also be created in the QA Wolf platformHow to: Create a new request
How to: Create a new request
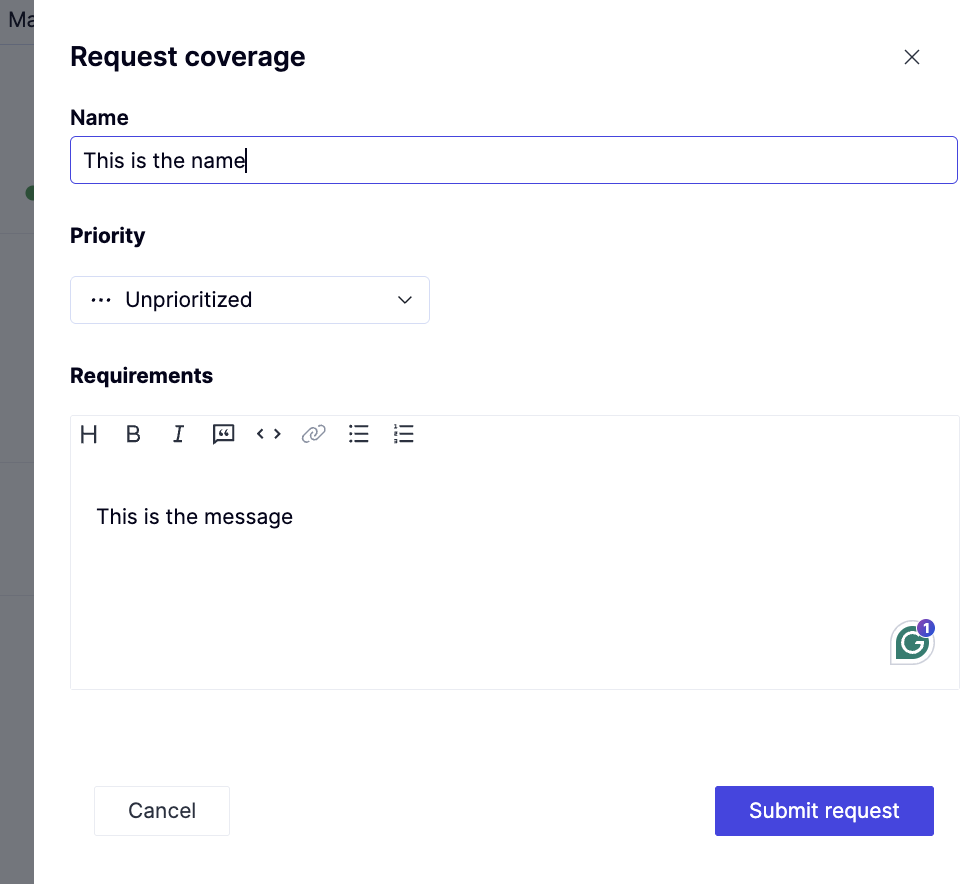
How to: Edit a request
How to: Edit a request
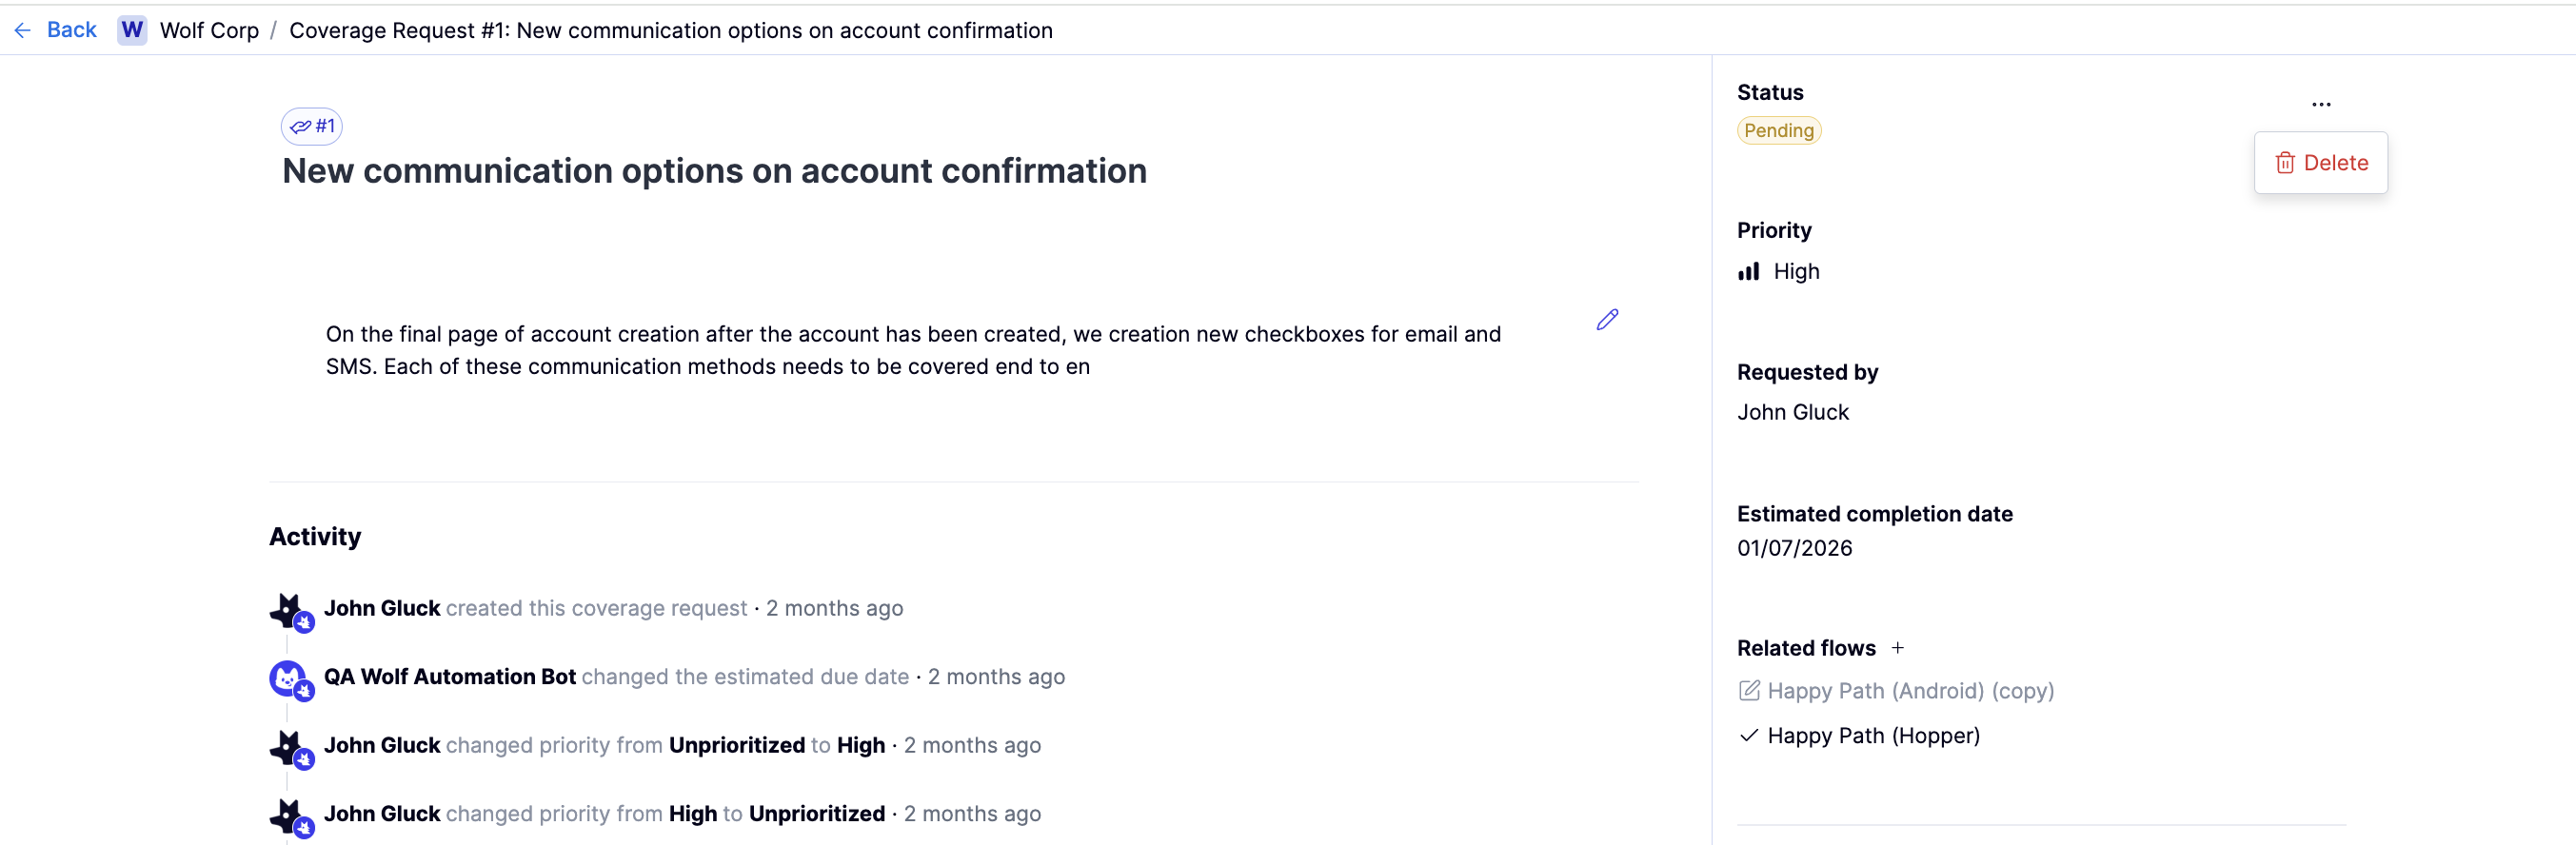
Coverage requests include a set of fields that control status, priority, ownership, and how the request connects to flows.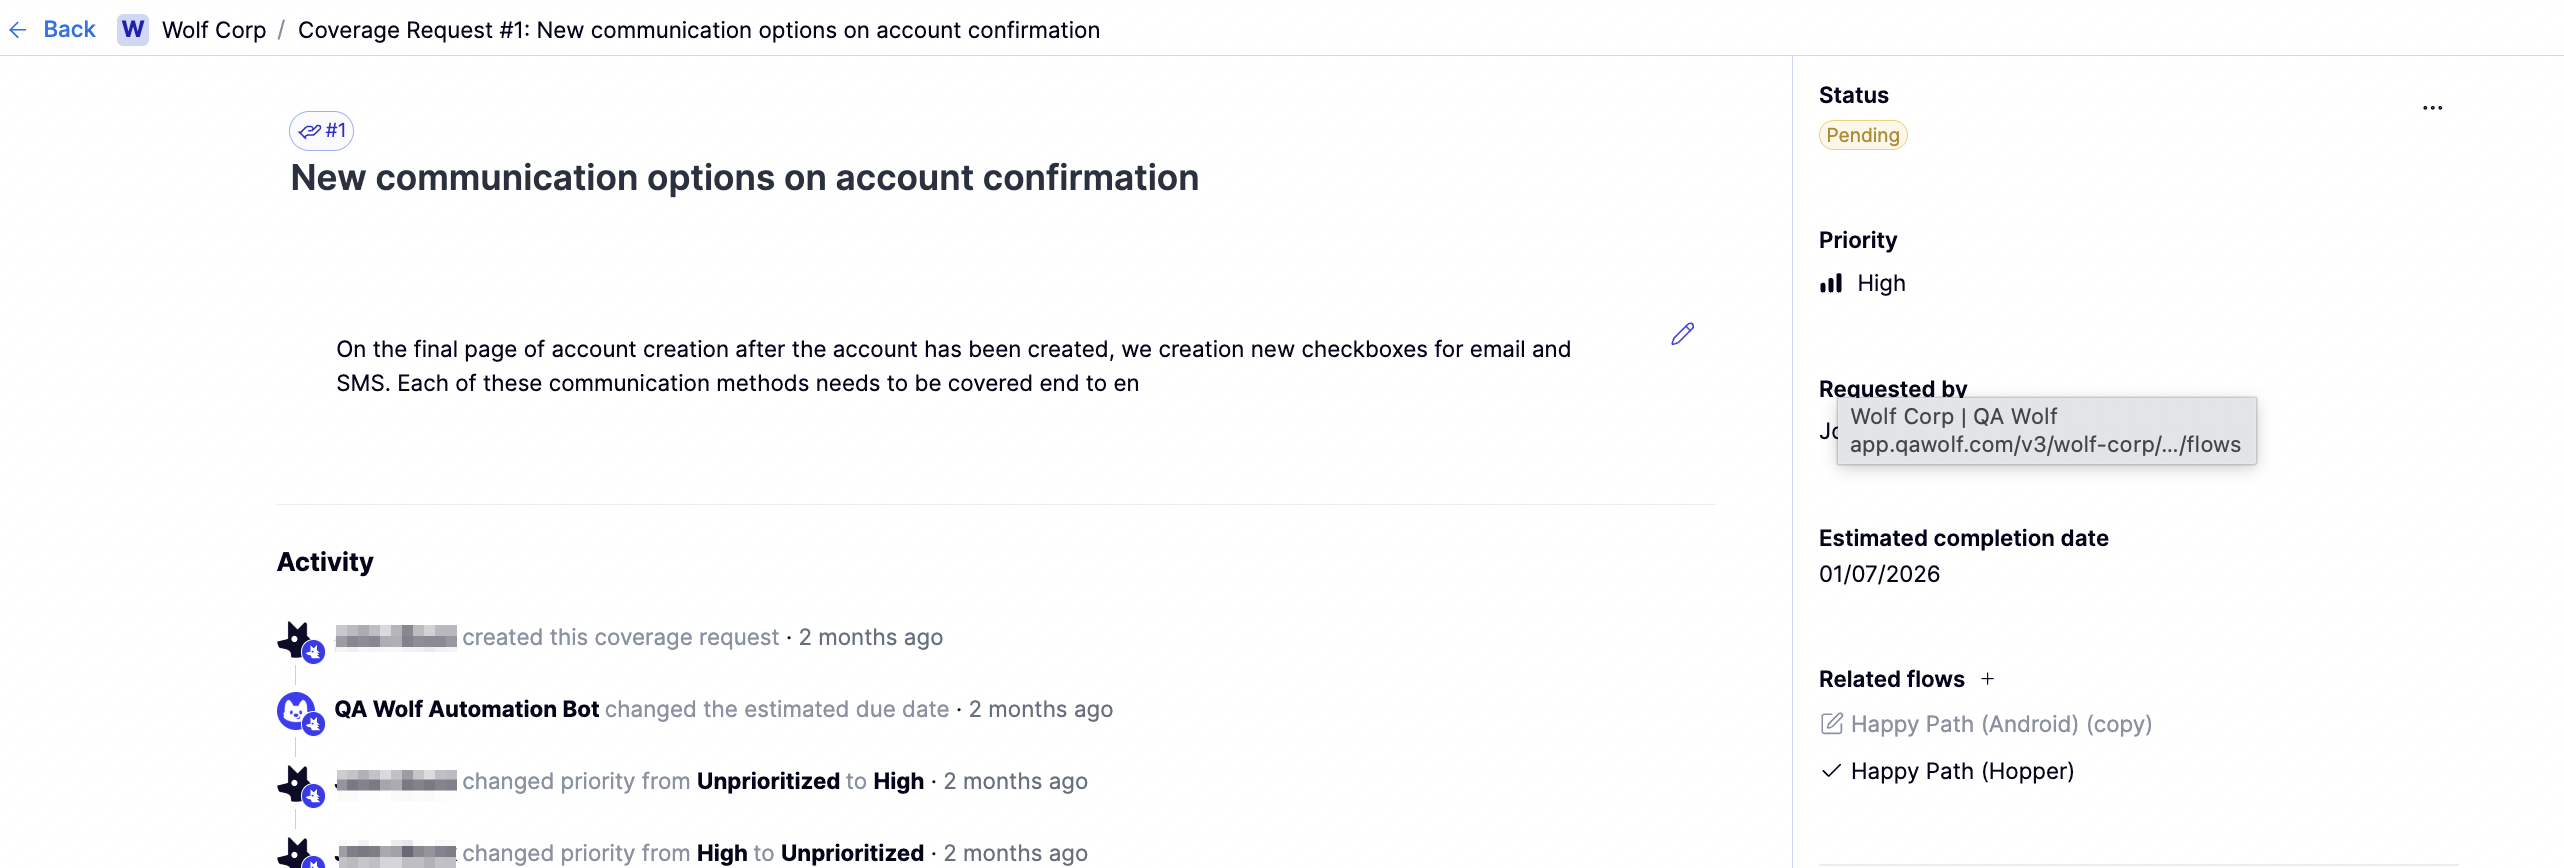
- Name. Edit this by clicking on the name and typing in the box. Press Enter to save the change.
- Status. Tracks the request’s current state
- Priority. Indicates the request’s urgency.
- Requested by. Shows who opened the request and can be updated if needed.
- Estimated completion date. Provides a target date to help with planning.
- Requirements. This is the description of the requested coverage, which you can edit by clicking on the icon below the name.
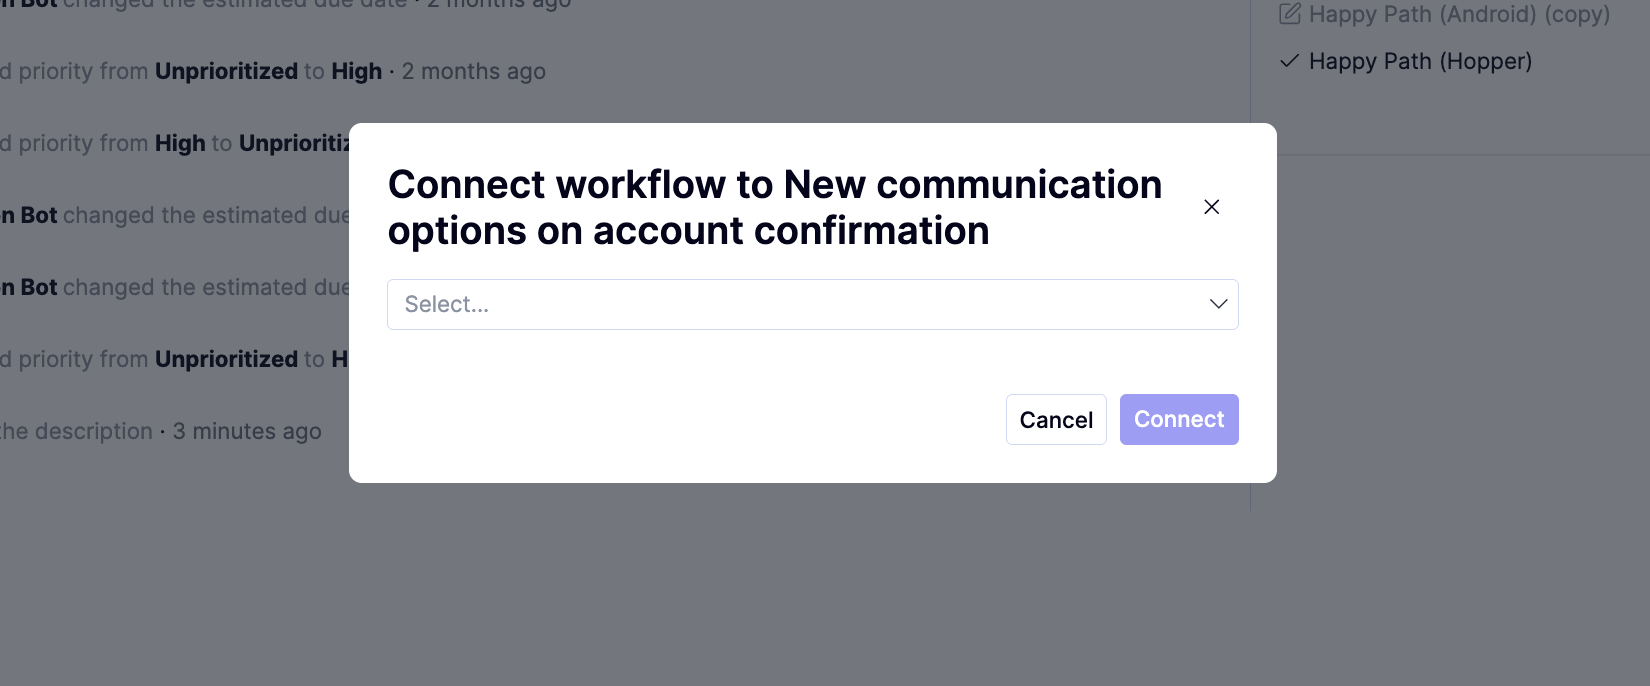
- Related flows. Links the request to existing flows or creates a new flow. To connect the request to another flow, click the icon in this field to select from the list of all existing flows.
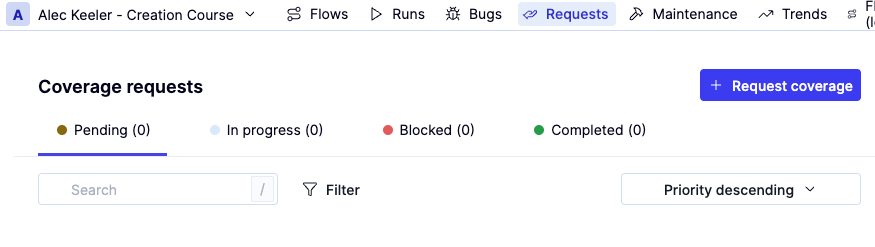
How to: Find open coverage requests
How to: Find open coverage requests
You can find all requests for your workspace in the Requests tab.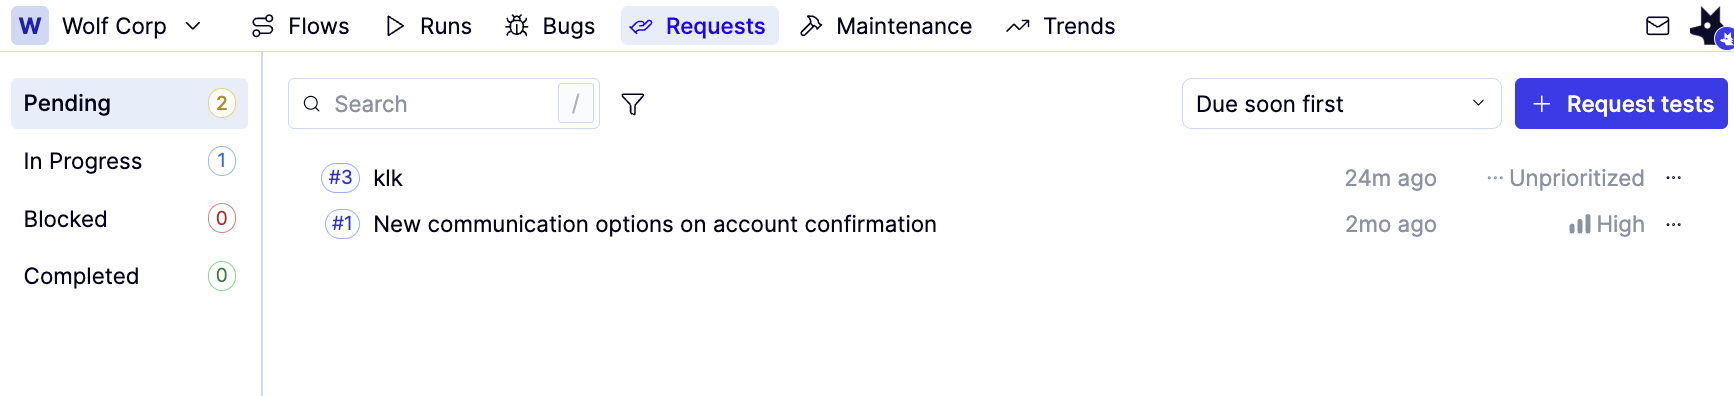
- Use the status tabs on the left bar to switch between reports in different statuses.
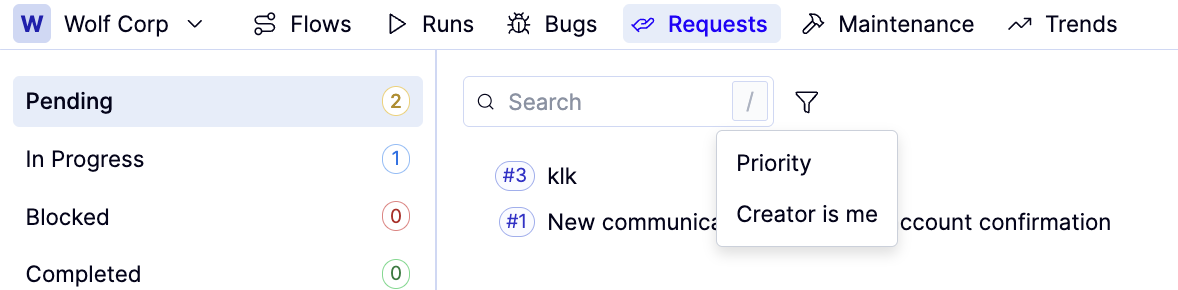
- Use the Search bar to filter by report name. Use the icon to filter by report Priority or Creator is me.